Wednesday, April 30, 2008

Door Stripping!

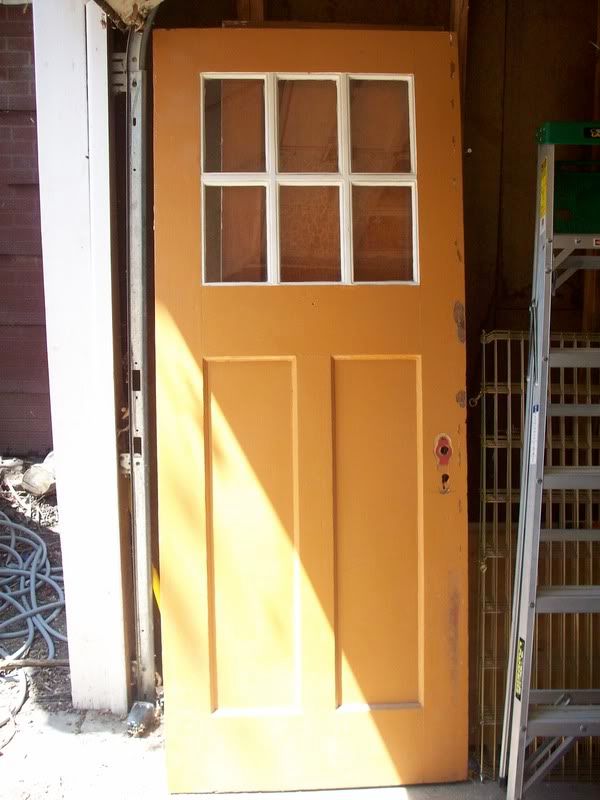
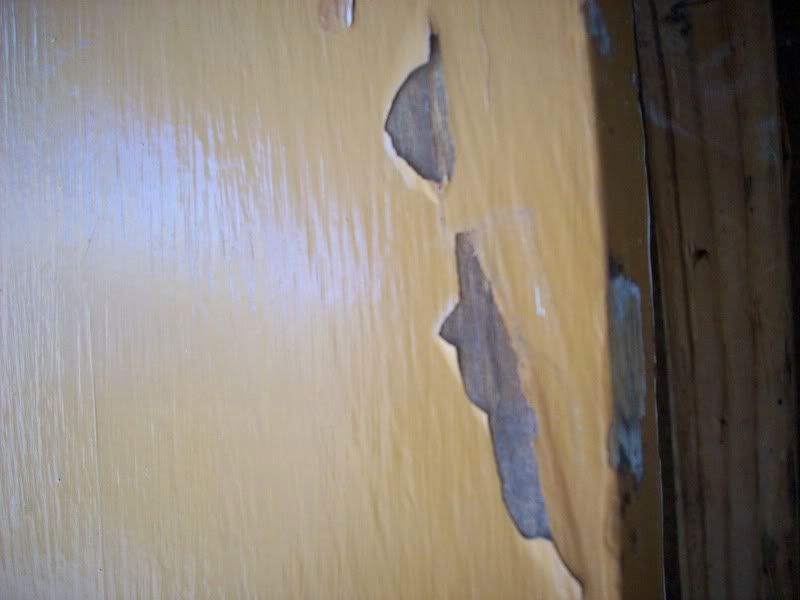
In great anticipation of ripping the siding off this June, I have started working on the new front door. The door's paint layers show that it has been purple, green, burgundy, white, tan, and red.

Here is the back side of the door:
Photobucket


Here is a small bit of peeling paint:
Photobucket


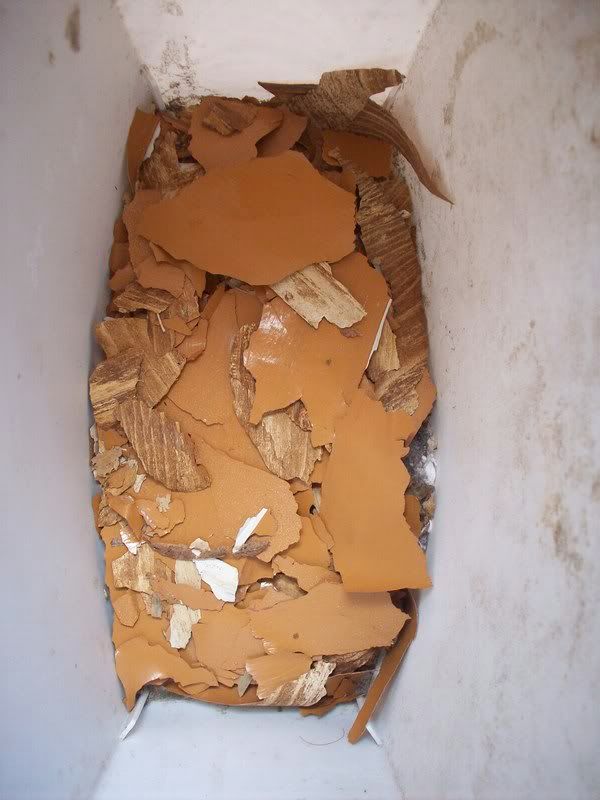
Here is a bucket of lead paint chips... breakfast anyone?
Photobucket

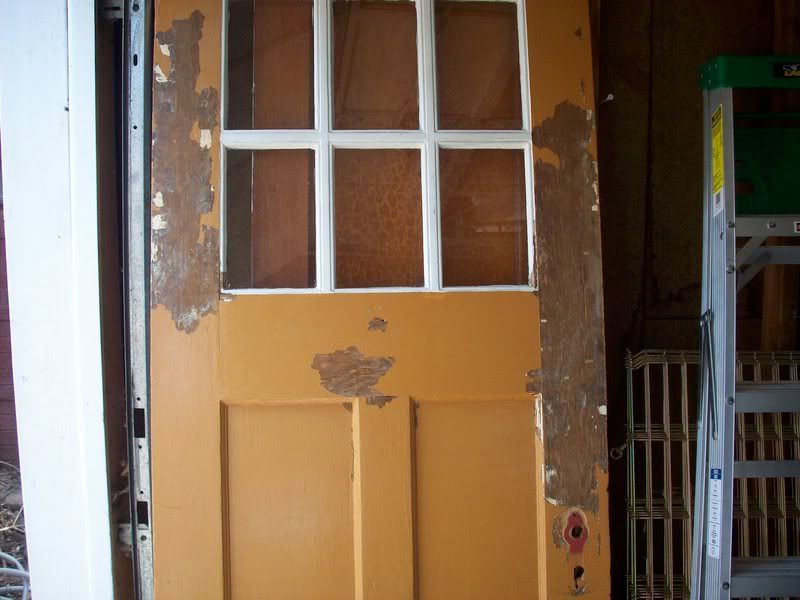
Here is what I accomplished today:
Photobucket

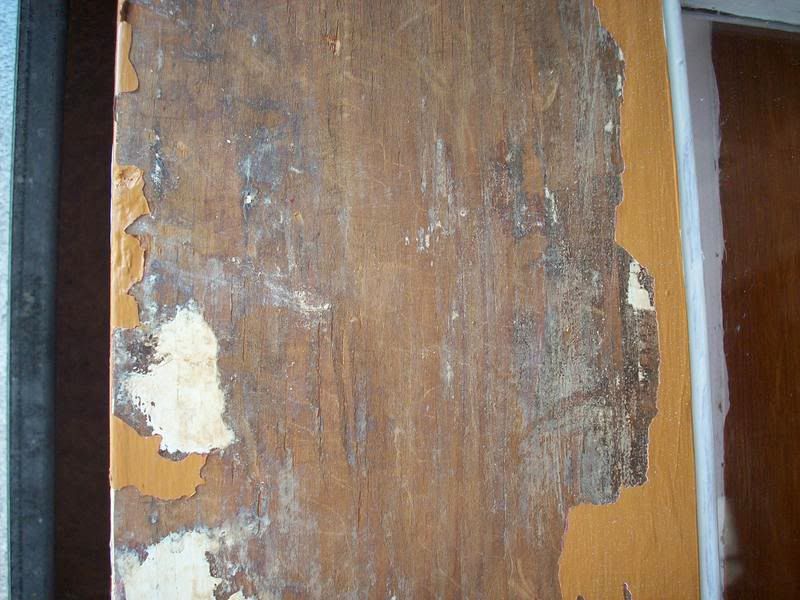
A closer look at the wood graining:
Photobucket
My goal is to be better at identifying wood types... it looks like pine to me. Am I wrong?

We are going to repaint it a yet-to-be-determined color, as it is no condition to be stained (there are quite a few dings and dents on the edges of the door, and a few on the faces.) Maybe a nice deep muted blue would be nice... or a nice dark sagey green.

Tuesday, April 29, 2008

Resolution Look Back- Environmental Issues

It's time for a look back at my New Years Resolutions for lessening consumption and enriching our lives. Have I made any headway on my goals? There's always room for improvement, but I was impressed that I have gotten as much done on these as I have!

Build Efficient Compost Piles
Done! I created our new double width compost pile out of old pallets and fencing. It's working fabulously! No smell, no animals... and things are breaking down fairly quickly, too!

Plant Buffalo Grass (or other native grass)
Well, when we have an area ready to plant... this will probably be a fall project.

Use My Human Powered Lawnmower
So far so good...

Replace the Front and Back Doors
Well, we bought the new front door... but we haven't figured out what we are doing with the back space yet. The current (hollow core) back door may disappear entirely in the remodel.

Seal ALL Windows and Doors/Apply Weatherstripping
Well, I bought it. Does that count? At least I will have it for applying NEXT fall.

Bed Warmers
It's too hot for bedwarmers... but maybe next fall.

Shop at the Farmer's Market FIRST

There are two in town... the Thursday morning market doesn't open until June 21st, but the Tuesday morning market supposedly opens in two weeks...

Join a CSA

We decided to NOT join a CSA this summer. We thought about it, and realized we just don't eat enough food to go through a whole share, or even a half share. We'll buy what we need from the farmer's market each week instead.

Plant a Vegetable Garden

Slow going here... I'll be lucky to have the beds ready in time for tomato and pepper season. Maybe I can splurge on some half grown plants to fill out the rest this year...

Replace Old Plastic Tupperwares
Done. We bought a lovely set of Pyrex bowls with lids. At 2 and 4 cups, they are just perfect for packing lunches or preserving a serving or two of food.

Find or Make Reusable Produce Bags

I have NOT bought or make reusable produce bags as of yet. I HAVE, however, started reusing the ones we have. When we take produce out of a bag, we fold it up and put it in a tupperware in the fridge. Then, when we go shopping, I take the used bags and use them FIRST. Occasionally one gets a little gross or rips, but I would estimate we are getting 4 or 5 uses out of each bag now. Little steps...

Buy Only Used (as much as possible)
We've been trying! I've joined a couple "no buy" challenges this spring, which have really helped me figure out what I really DON'T need. It's been a while since I've bought anything new for the house, too... we're getting better!
Friday, April 25, 2008

Is Your Loveland, CO, Home 50 Years or Older?

The City of Loveland, Colorado, is hosting two workshops in the next few weeks for old house owners. If you are in the area, it might be worth stopping by... it looks like they will supply some great information! Sadly I can't attend the first...

Researching the History of Your Old House
City staff and a genealogist help you learn about your old home and the people who lived there.

Monday, May 5th, 2008
6:30 to 8:00 pm

Your Old House Workshop: Finding and Using Architectural Salvage
The city's third annual Your Old House workshop will focus on how to find, reclaim and use architectural salvage in your old house. Find out how to locate historic hardwood floors, hardware, stained glass or front porch pillars; how to recondition old wood windows; or how to hand a salvaged door. Bring your questions!

Thursday, May 22, 2008
6:30 to 8:00 pm


Both events are at the Loveland Museum/Gallery at 503 N. Lincoln and are free and open to the public.

Thursday, April 24, 2008

Gardening

I spent the day out in the garden, weeding and transplanting. I love the feeling of cool earth under my fingers, of coaxing small plants into living. Brown thumb be damned... I'll grow something yet!

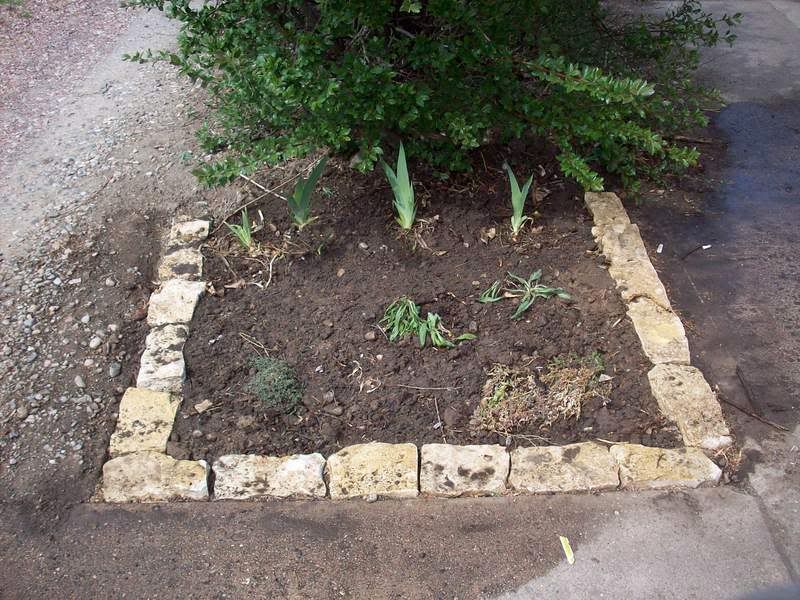
Here's my newest flowerbed... it went from this:

Photobucket

to this:

Photobucket

with the help of some iris (transplanted at the wrong time so it won't flower this year), woolly thyme, magenta ice plant, and two unknown wildflowers from my wildflower garden.

I planted a few seeds in the bare spots...

Photobucket

Poppies and snow-in-summer. Both will tolerate drought and HOT, sunny conditions. Perfect for that little spot!

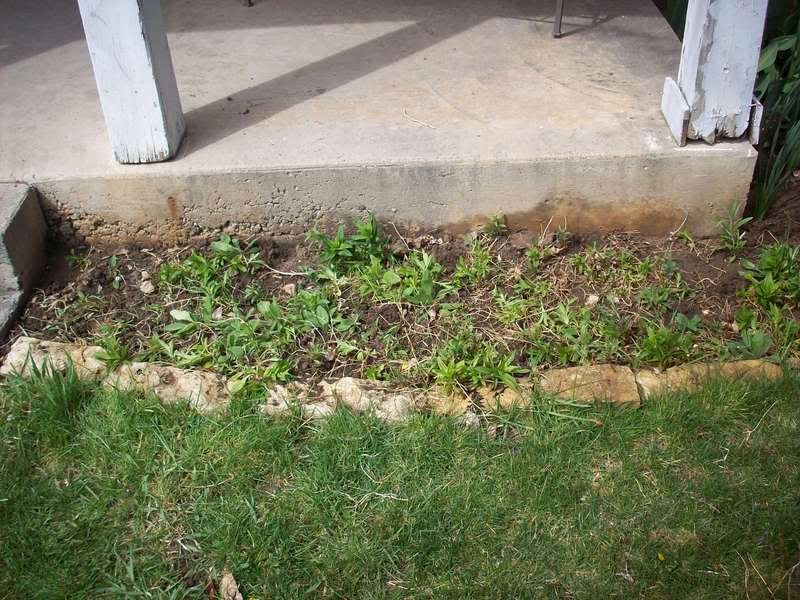
I cleared out the wildflower garden in the front of dead matter, dandelions, and the MILLIONS of tiny trees that had taken root...

Photobucket

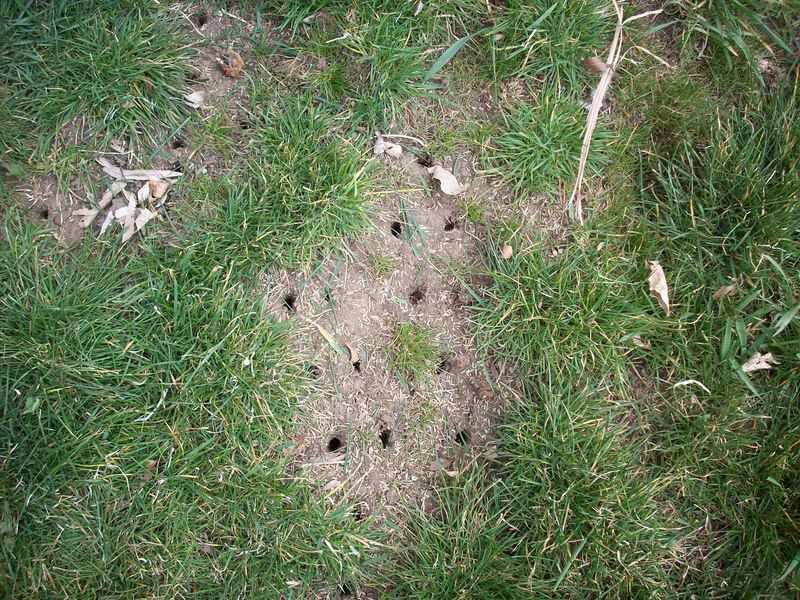
Oh, and the grass that is still sure that it belongs in THERE instead of on the bare spots in my yard...

Photobucket

Getting ready for summer!
Sunday, April 20, 2008

A Backyard Fire this Summer

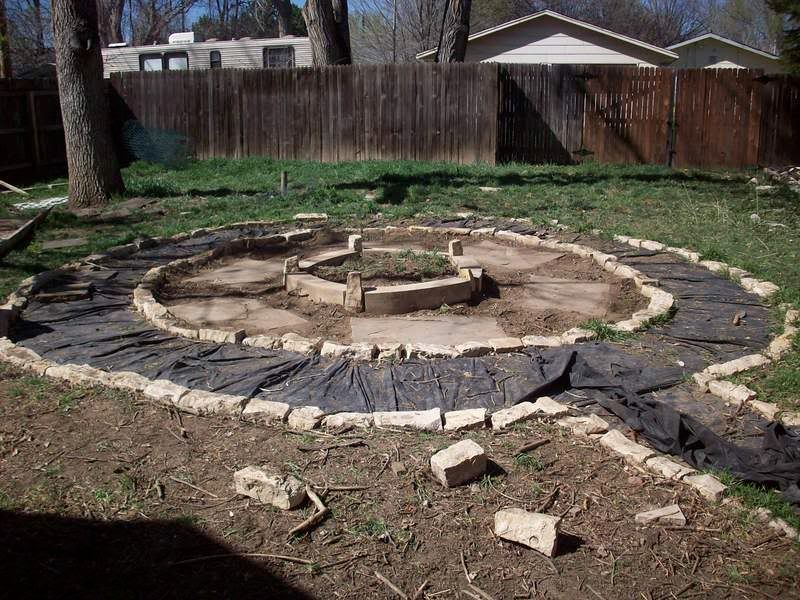
We finished up the hardscaping for our backyard firepit this weekend- LOTS of digging involved. Here's a picture of the semi-finished product:
Photobucket

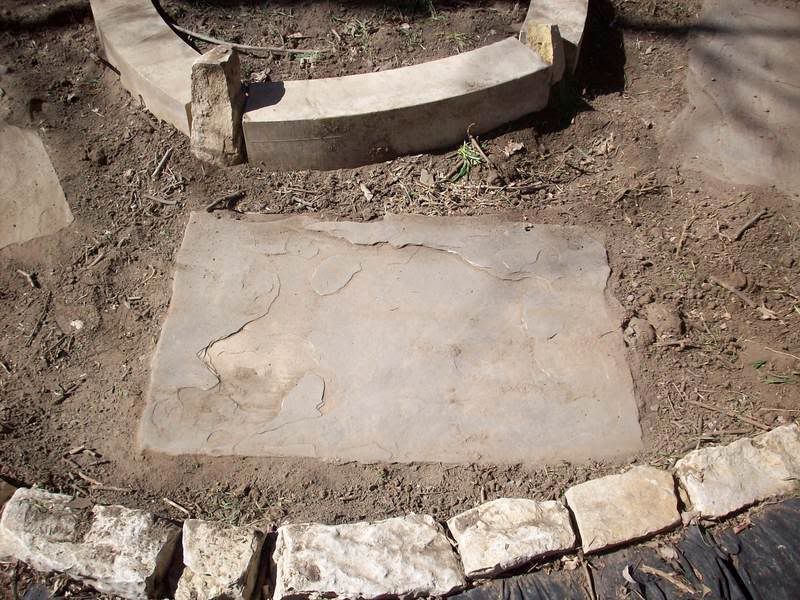
We used a hard limestone rubble stone to edge the surround path that encircles the sitting area. The slabs of rock inside are old sandstone from under an ancient clothesline (cut down before we bought the house, sadly); we are going to find (or make) nice chairs to set on them. The inside circle (for the firepit) is created out of limestone arches. All stones were salvaged from either our yard or my father-in-law's scrap pile.

A close up of the rocks:
Photobucket

Still to happen:
Plant woolly thyme in the dirt around the seating slabs for a nice smelling lawn effect...
Kill weeds inside the firepit area and walkway with vinegar...
Add crushed rock and pavers to the walkway...


Cost:
$10 in landscaping fabric (bought a year ago)

Salvaged Materials:
Stone

New Materials:
Landscaping fabric (bought a year ago)

Wednesday, April 16, 2008

Dug...

and dug and dug and dug and dug.

And dug.

And hauled dirt. And dug.

More later. After beer.

Tuesday, April 15, 2008

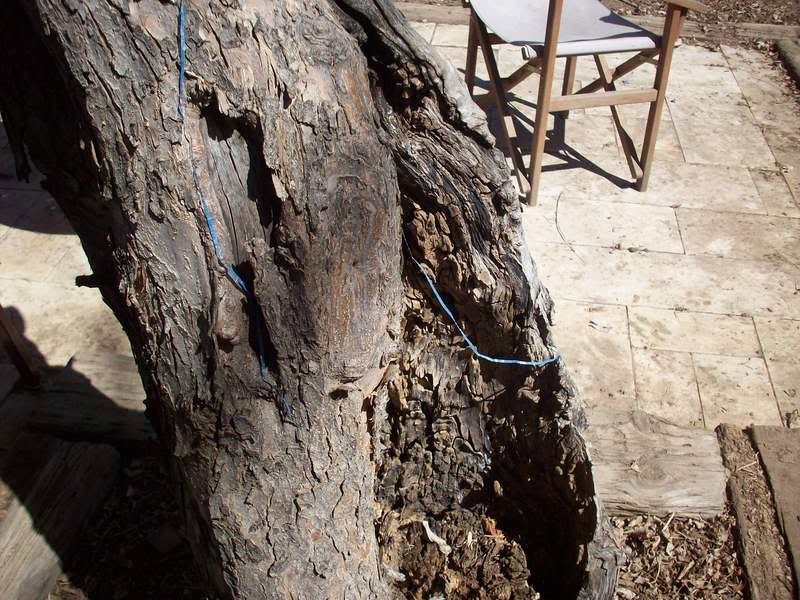
Found a Blue String...

attached to my apple tree.

Photobucket


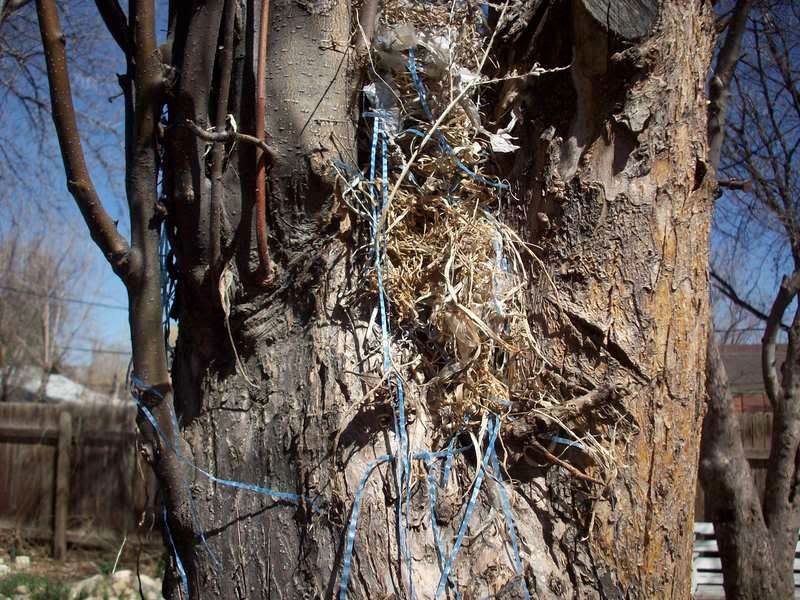
I followed it up the tree...

Photobucket

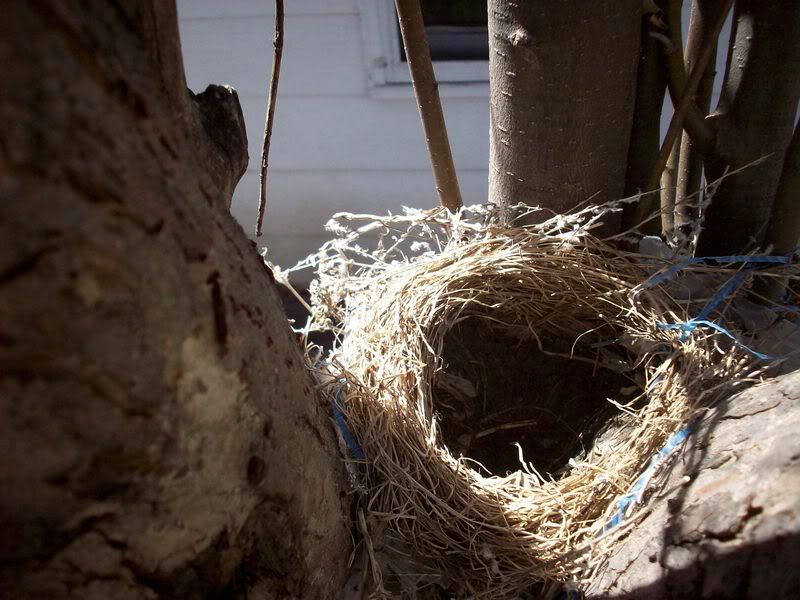
to a bird nest!

Photobucket

Now, who is making their home in my apple tree?

Monday, April 14, 2008

April Showers Bring April Flowers

We've had lots of snow and rain for the past few weeks... here's what's popping up!

Photobucket
Grape Hyacinth

Photobucket
Delicate, early blooming star shaped tulips

Photobucket
Pansies!

Photobucket
Bright, fiery tulips

Photobucket
My crabapple tree blooming for possibly it's last spring. Every spring, another limb doesn't emerge from winter... soon there will be nothing left. It is old and gnarled; half of it is gone already. It makes me sad to think of it's eventual demise, but I'm rejoicing in it's flowers this spring.

Sunday, April 13, 2008

This Weekend's Projects

This weekend, we worked on sundry and miscellaneous outdoor tasks.

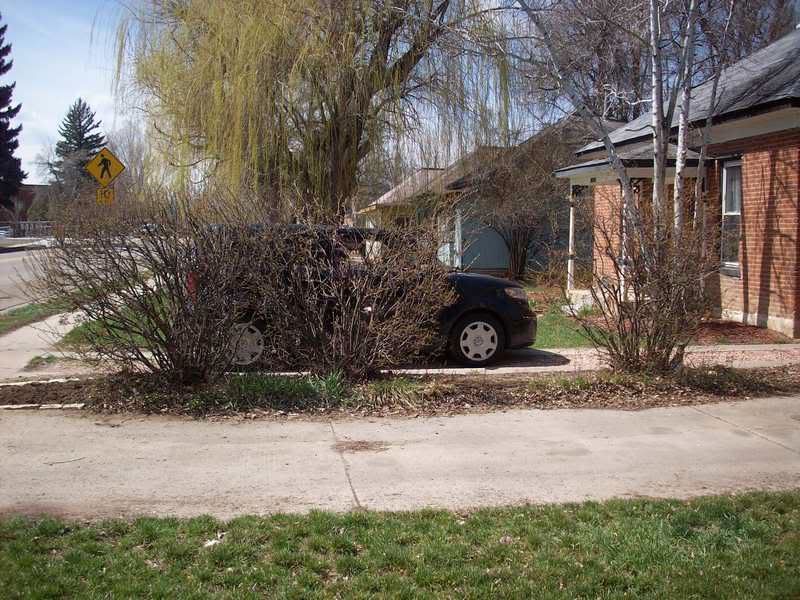
First, we trimmed the bushes:
Photobucket

I'm going to extend the stone barrier (on the left) all the way down to our garage; I'm trying to decide what to do about the gaps between the bushes. (You can't see the additional 3 bushes to the right of the picture, but they continue the line down to the garage). I'm thinking of putting up some fencing of some sort (picket or wrought iron... whatever I can find for free) just between the bushes (to continue the line), and then planting flowers on our side.

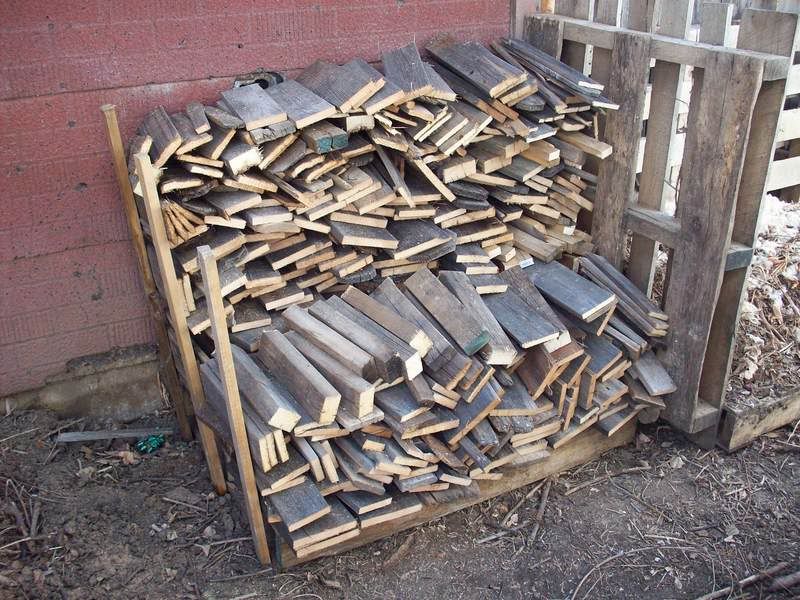
Then, we attacked the wood pile; we made quite a dent, and have a lot of wood for fires this summer.

Before:
Photobucket

After (not quite done):
Photobucket

Our wood pile NOW:
Photobucket

Finally, we faced the garage, spurred on by Chile's challenge of garage decluttering.

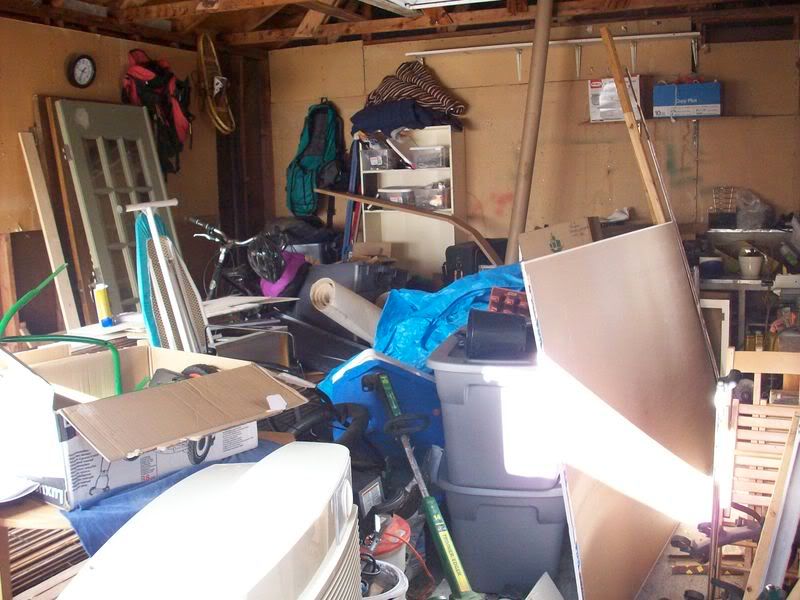
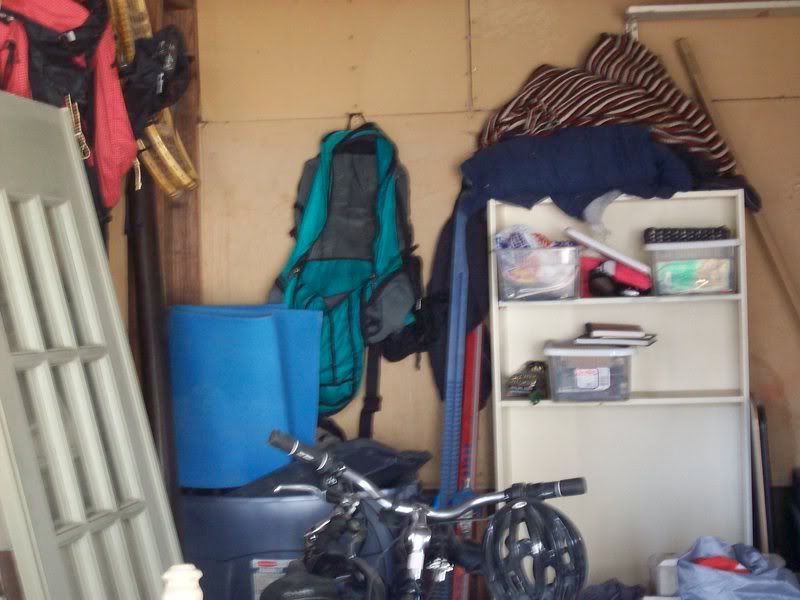
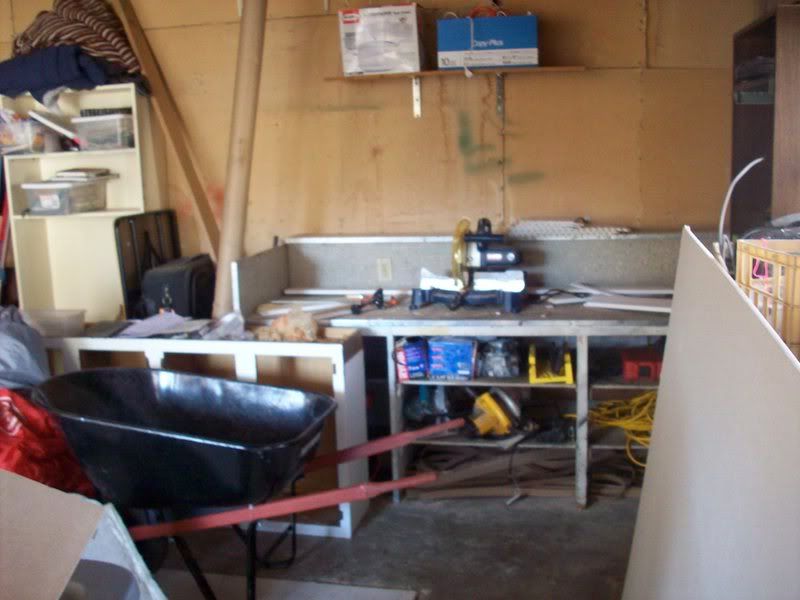
As you may remember, this is the garage before (several months ago):
Photobucket

You can see previous efforts here and here...

Here's what we accomplished today:
Photobucket
Hiking and camping gear hung on nails, organized, and stored in storage tubs we already owned.

Photobucket
An open space cleared by freecycling a large quantity of items we didn't need, but hadn't gotten rid of yet. Here's to more usable space... just in time for summer!
Wednesday, April 9, 2008

Attacking the Scrap Pile

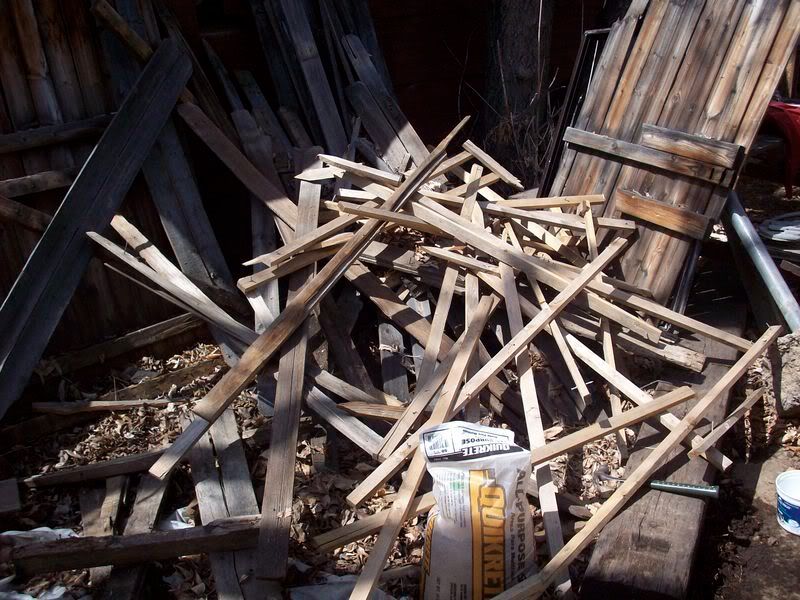
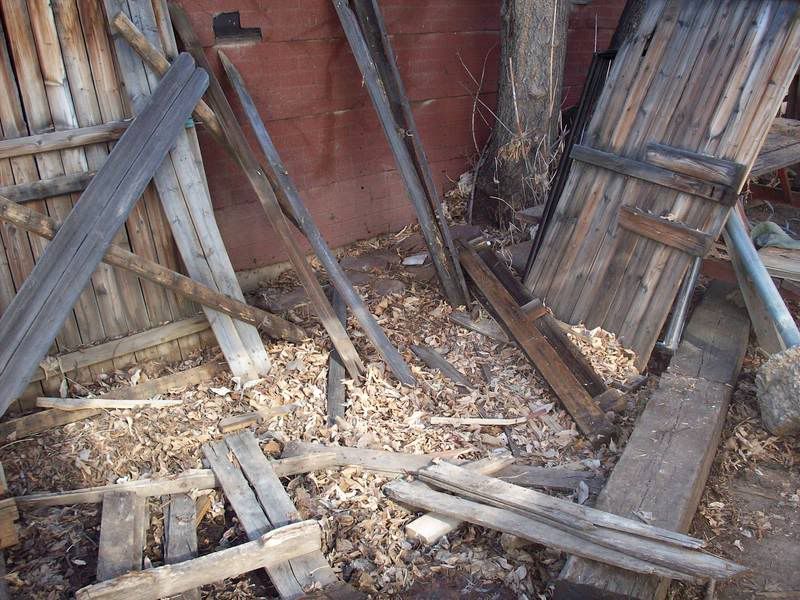
More de-cluttering here today; I attacked our wood scrap pile.

Photobucket

This is the scrap pile left over from our fencing last summer; it contains the broken fencing, furring strips, and stakes that we were too lazy to haul to the recycling center.

After avoiding it for a year, I decided we needed that workspace back. We've also decided it will be the perfect source for our summer fires. I went out there with a hammer and saw to de-nail it and cut it down to size.

I didn't finish the job today; in fact, I think it will take quite a few days until it is tackled. But, it's another decluttering project that I can chip away at when I have 15 minutes.

Tuesday, April 8, 2008

Made Another Flowerbed...

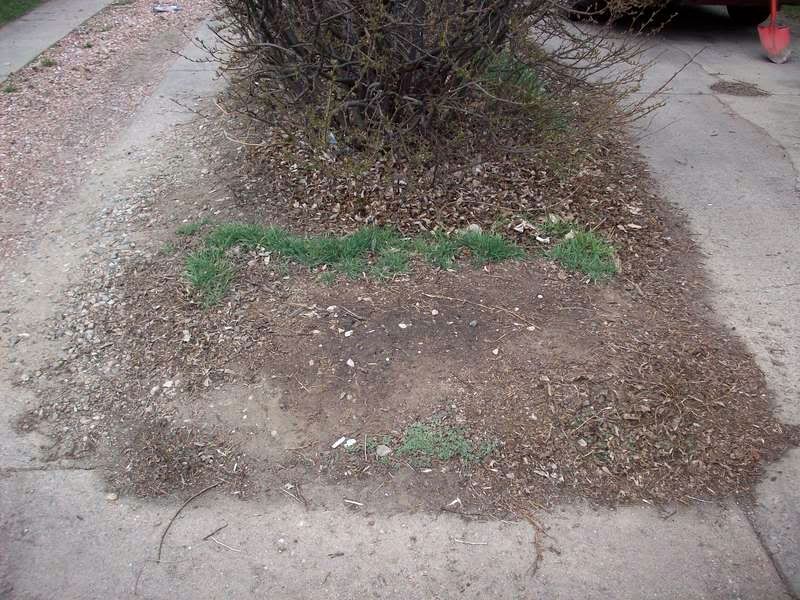
Here is the patch of dirt between our driveway and our neighbor's driveway. There are bushes that line most of this strip... but the front 2 feet is bare dirt.

Photobucket

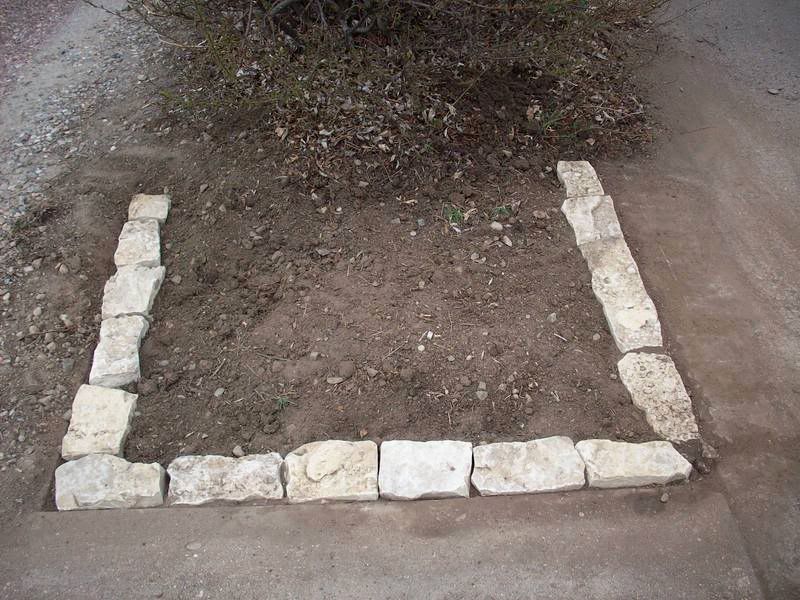
I dug out most of the soil, and edged it with some of the rubble stone (limestone that is almost marble) that we are using for our garden edging.

Photobucket

I plan on planting a bunch of daylilies, iceplants, and bulbs in here... nice, big invasive plants that will fill in nicely.

Cost: $0

Materials:
Compost- Our Compost Pile
Stone- Father-in-law's scrap pile

Monday, April 7, 2008

Our New Compost Pile in No Man's Land

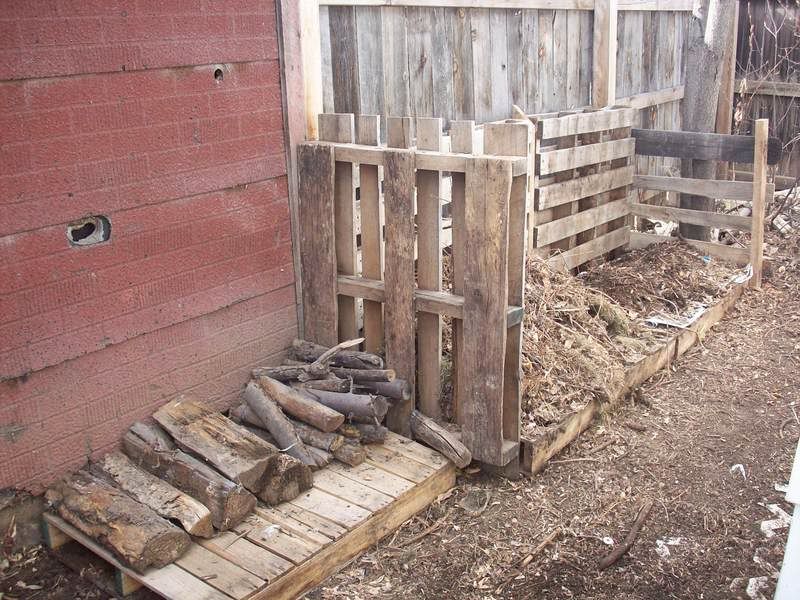
In honor of Chile's new challenge, "Cut the Crap - DECLUTTER", I finally finished a project started last summer! I built a compost pile and wood pile in the space we call "no man's land" between our garage and the fence.
Photobucket

I used pallets salvaged from the city recycling center to create a frame for the compost pile... I'm starting the compost on one side and finishing it on the other. The pallets had been sitting around since last spring... just waiting.

There's more wood for the pile in the backyard... it just needs cut down to size and stacked. Lazy summer nights around our fire-pit, here we come!

By the way, the red garage is NOT our garage; I just noticed that big hole in it today. I'll have to patch it for them since they can't see it! (It's the property line).

Sunday, April 6, 2008

Mowed the Lawn Today...

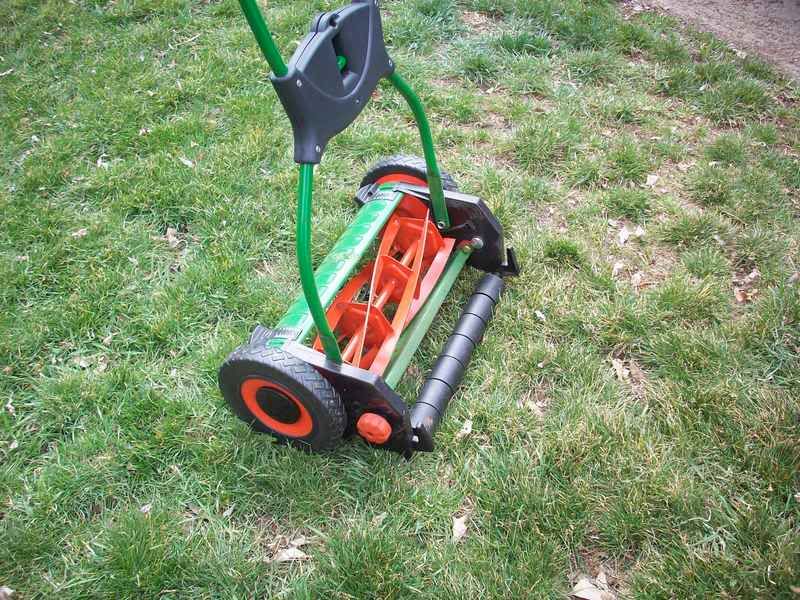
With my brand new Brill Luxus pushmower!

Photobucket

I really like it... it is quiet, easy to push, and doesn't jar my shoulders like holding onto our gas powered mower. I think it is even easier to push and control than our self-propelled mower is! I love how it leaves the clippings right on the lawn for mulch. The only downside I found is that it is somewhat uneven on our VERY bumpy and uneven lawn. I am hoping that as we fill in the bare spots, this will go away... however, I'm not in the manicured lawn club, so I will use it even if it doesn't give a perfect clip!

I went around the hole yard with my hand weeder pulling dandilions. 56 dandilion carcasses later, I was ready to aerate the lawn with a hand aerator...

Photobucket

The tool (I used a Turf Hound Aerator) looks like a small pitchfork with really hefty tines. You walk across your yard, stepping down every 6 inches on the aerator. We saw marked improvement in our lawn quality and in the germination of the grass seed last fall after we did this; it seems like a great and easy way to make your lawn healthier (and thus more drought resistant).

We threw down another 3 lbs of drought resistant grass seed into the few bare areas that didn't germinate last fall... (one is in the picture above).

One lawn, prepped for summer!

Saturday, April 5, 2008

On Doors and Doorknobs...

We spent a little time last week poking around at ReSource; they had just gotten in a brand new donation of old doors.

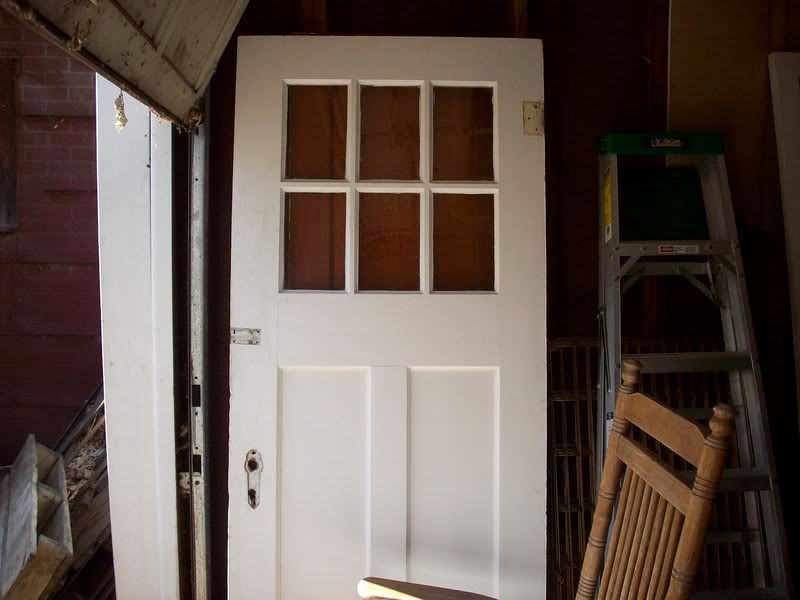
Here is our new front door:
Photobucket

We bought it ONE day before discovering our house was actually brick; I'm hoping it isn't too "new" for house once we restore the brick. Our old door is rotting, cracked, and has a plexiglass window... can't wait to put this one in. It was only $30, too! We have the original hardware; it is in a different place.

Also, we decided to use the black "porcelain" (or jet) doorknobs throughout the house. We bought one at ReSource, and found a lot of the knobs on ebay for cheap:

Photobucket

$20 after shipping and handling. They look like they need a lot of work, but hopefully I can salvage most of them.

I am a big fan of unifying features in such a small house; I have this need for all doors, doorknobs, trim, lights, etc to be the same throughout our house. Is anyone else like this, or am I just a freak for symmetry?

Friday, April 4, 2008

Roadside Finds

I'm sick at home with strep today. I want to rip out my tonsils and throat and chuck them across the room... the antibiotics better kick in soon! Luckily the ibuprofen has dealt with the fever already...

But, all of that is just the set up to my story:

My doctor's office is located in the middle of the Historic District in my city. I was driving away from the office in pure feverish misery when I saw a pile of old lights, a sink, and a mailbox sitting by a dumpster. I swung back around and knocked on the front door; the woman who answered said "Take it all away!".

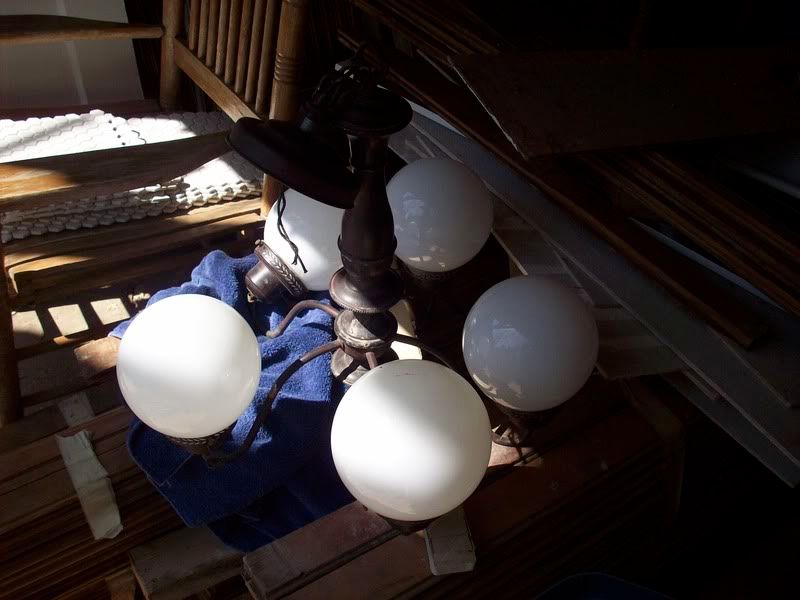
An old ceiling light:
Photobucket

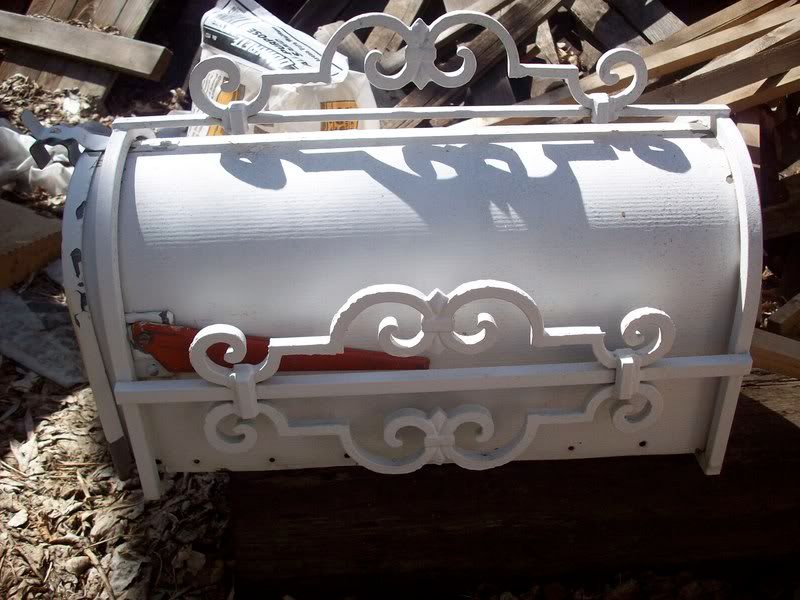
An old mailbox:
Photobucket

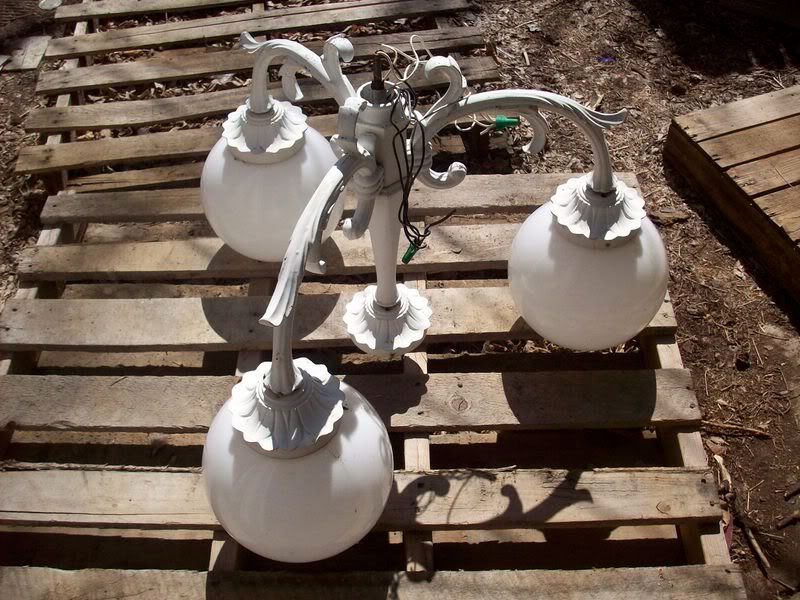
A street light/porch light (missing one globe and sans post):
Photobucket

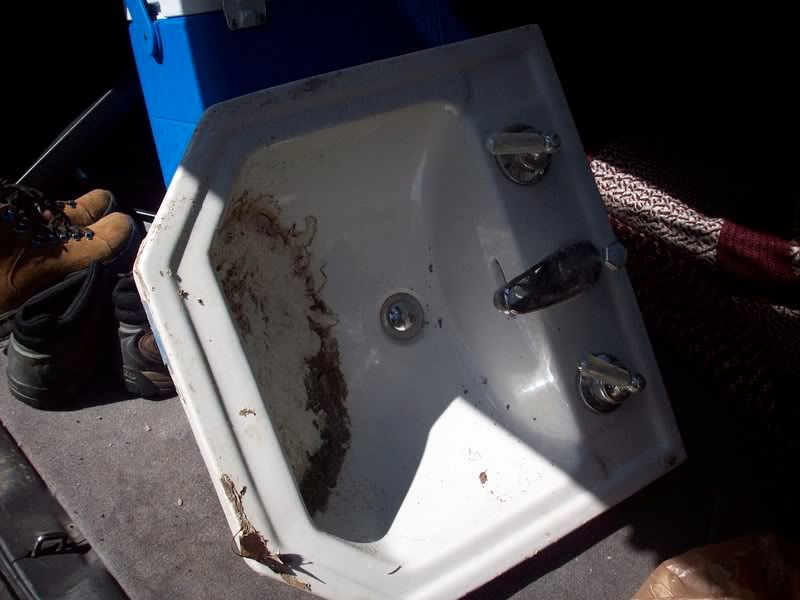
An old wall mounted sink:
Photobucket

I'm going to keep the sink for our possible second bathroom; the rest I am going to give away (with the possible exception of the first lamp; it MIGHT work well in our bedroom on our odd sloped ceiling). Hopefully they will find homes where they can be reused and loved. If you are in Colorado and would love one of these, just drop me a line.

Used Building Supplies?

A few weeks ago I created a poll on my sidebar collecting data about people's use of used and salvaged building materials.

Here are the results:

How Much of Your House Remodel or Decoration is from Used or Salvaged Materials?
0% - All... I wouldn't set a foot inside a big box store.
12% - Most... I still buy things like nails, etc. new.
50% - Some... I buy used when it's cheaper and easier.
37% - Some... it's hard for me to find salvaged or used materials in my area, so I buy used when I can.
0% - None... why would I put other people's junk in my house?

I was glad to notice that no one chose the last option; of course, it could have been my heavily weighted wording. Personal opinion, of course, but buying used or salvaged material is a great way to save money and keep something out of the landfill.

I was surprised to see that no one chose the first option; we have a family friend who built his entire house out of used materials. He used mahogany shipping crates for much of it, and pulled, straightened, and reused both nails and lumber. Of course, he does not have the internet, and so wouldn't be voting on any poll...

A full 37% of you indicated that it is hard for you to find used and salvaged goods; it makes me feel very lucky to live where I do. There are lots of options around here for finding used building supplies.

Since you all indicated that you use used materials, the next question is WHY?

Wednesday, April 2, 2008

Do I Pay Attention to Anything? (Or, clues I should have noticed)

I poked around the exterior of our house a bit more, looking for clues as to the condition of our brick. I noticed many things that should have tipped us off to the fact that there was an extra layer of siding....

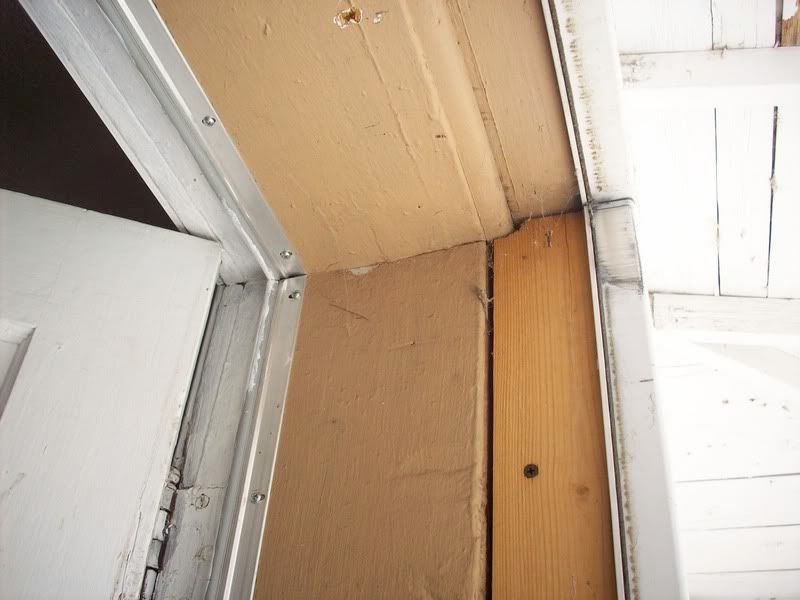
The Front Door Jamb:
Photobucket

If you look closely, you can see that it is extra deep... and you can see the seam! The newer, unpainted wood is to extend the jamb out to the new siding.

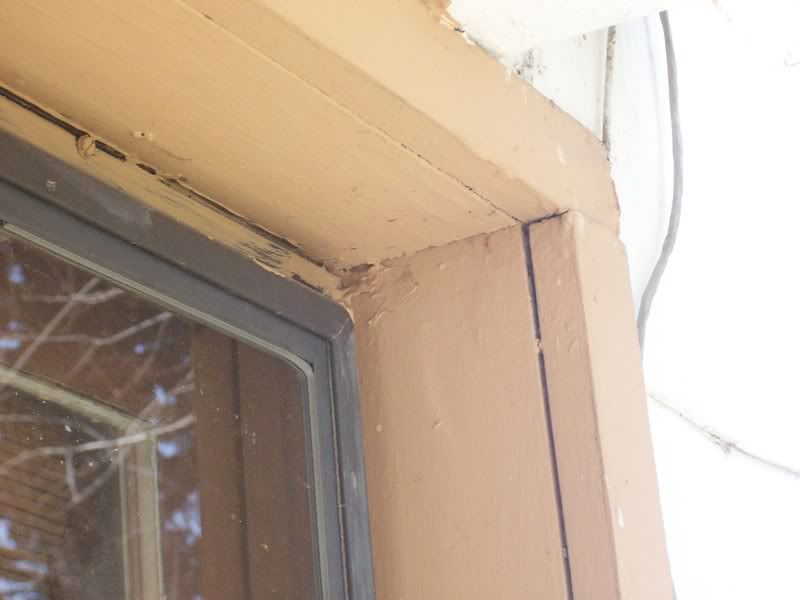
A Window Frame:
Photobucket

The frame out is even more obvious here... I'd been thinking the window boxes were extra deep and didn't let in much light for a while. Turns out they ARE extra deep!

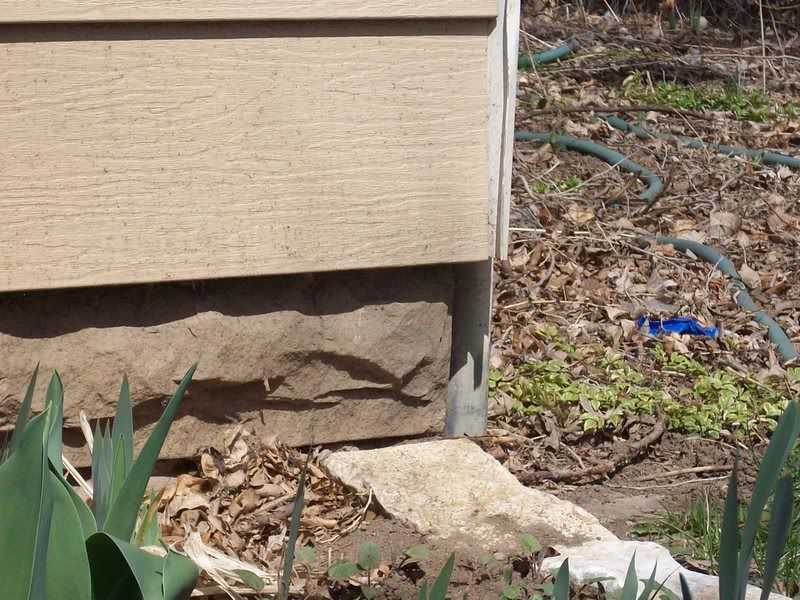
The Bottom of the House:
Photobucket

The siding sticks out a good inch or two beyond the foundation (there is a chain link fence post in the picture that takes up the empty space). This is not super normal... in fact, NONE of the other houses on my street look like this. Whether brick or clapboard, they are all flush with their foundations.

One more observation:
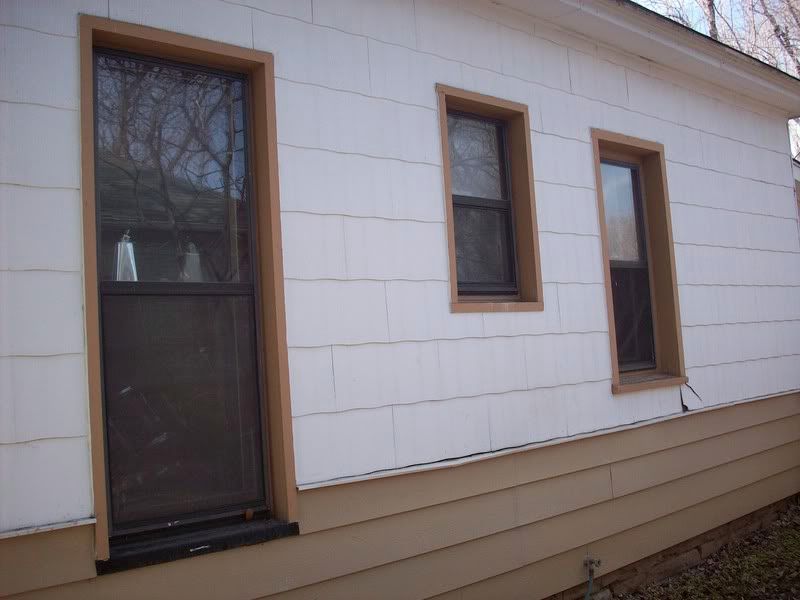
This is the east side of our house:
Photobucket

The window on the far right is not original to the house. Too bad, because it is a really cool multi-pane window.

I know this because there is no brick underneath it; it is just framed in and insulated. Also, its window sill is completely different in shape, slant, and construction than every other sill on the house. It SHOULD be the same window as the first window; the house next door is intact, identical, and shows this. Why in the world did they put a smaller (though much cooler) window there? They did use these same windows on the addition; I will likely just install this window there when we remodel.

We will likely have to find a replacement window for the original... too bad we didn't salvage the ones ripped out of an identical house across the street a year ago! (We had no idea we would need them then).

Tuesday, April 1, 2008

She's a Brick---- House!

A piece of our asbestos siding fell off today...

and GUESS what was underneath?

Photobucket

I pulled up a bit of the steel siding that surrounds the bottom of the house (on the other side, to get a representative sample)...

Photobucket

This makes total sense, as the other 5 identical houses on my side of the street are solid brick. Mine is the only one with siding. I didn't think much about this, because the houses on the OTHER side of the street are NOT brick...they are clapboard style.

It also explains some of the oddities, like the extra deep front door jamb and the very sunken looking windows!

Now, who would put asbestos siding over brick?

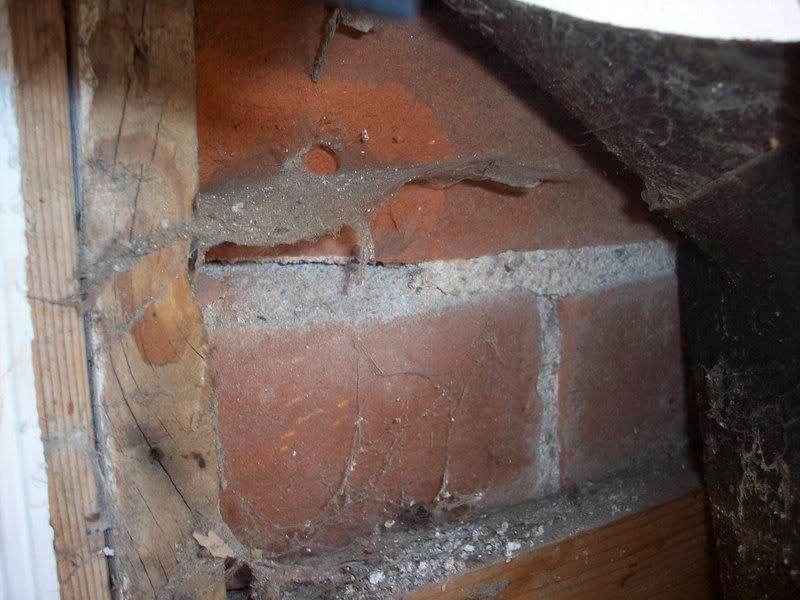
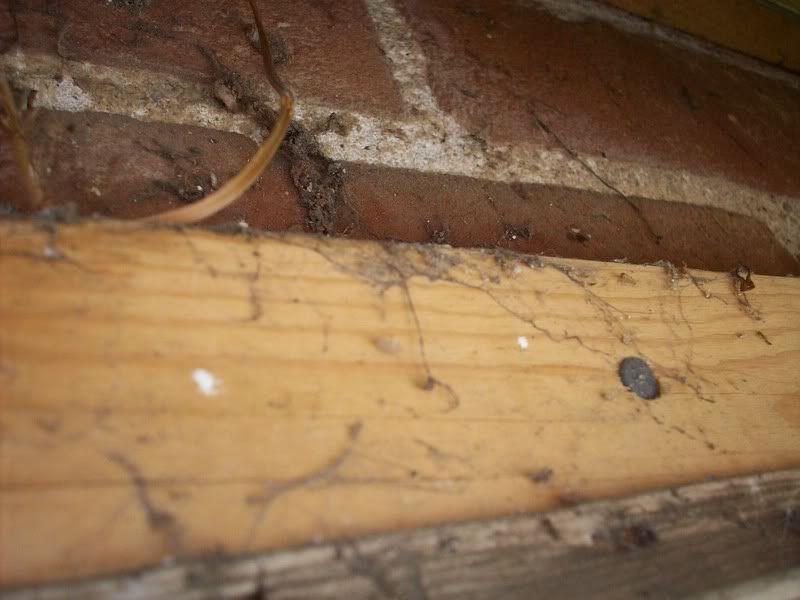
It seems to be in good condition... the mortar looks EXCELLENT, as it should since it was protected from the elements for at least 50 years. There are 1x2's nailed into the mortar to hold up the siding, and tar paper over the brick and under the siding.

I'm thinking that it's worth stripping down the house to see... at least remove all of the steel bottom siding to check on the brick's condition. Asbestos abatement is expensive... but I think ending up with a brick house would be worth the expense (we can do it ourself, too, in this state)! Alternately, if the brick is damaged beyond use, it will make a great surface to stucco over, which was an alternate idea for siding this house (lots in the area are originally stucco).

What have you found under your old siding?