Showing posts with label Old Projects. Show all posts

Monday, July 21, 2008

Look What We Did!

Houseblogs.net is having a little contest where we get to show off our proudest moments in DIY home ownership. It's sponsored by True Value. I could surely use the $300 prize for my house fixings!

I know what my proudest moment ISN'T... but thinking of a favorite moment is a little harder. After careful deliberation, and a morning cup of tea in my favorite space... I have an answer!

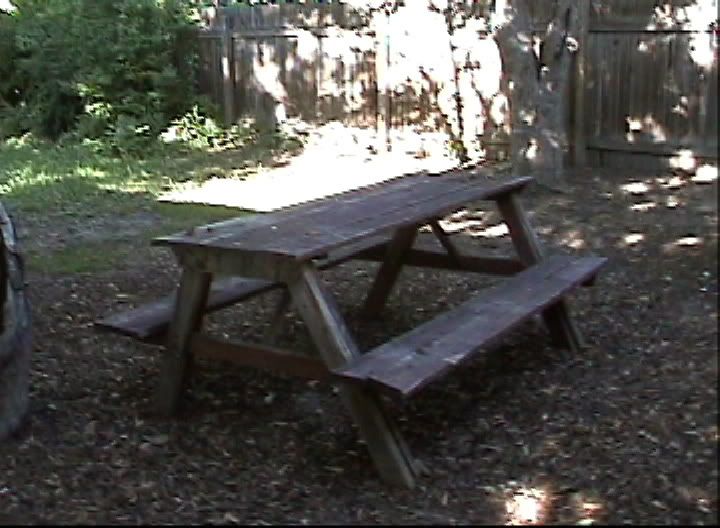
Before:
Photobucket
This space is right behind the house and next to the garage. It is shaded by two apple trees.

During:
Photobucket
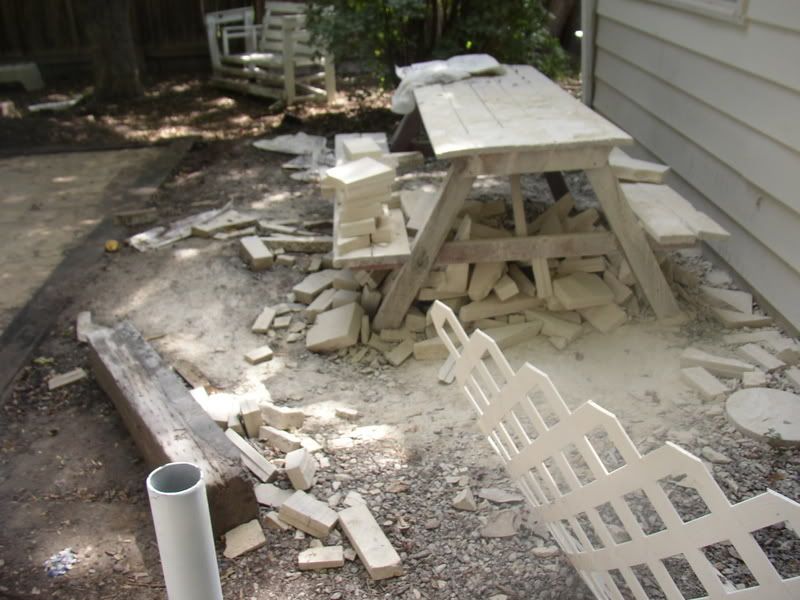
While we worked, we used the picnic table as a workbench. Using a circular saw with a diamond blade, we sliced limestone slabs salvaged from my father-in-law's scrap pile into varied rectangular pavers. We beveled the edges with a belt sander to give a little more interest to the patterns.

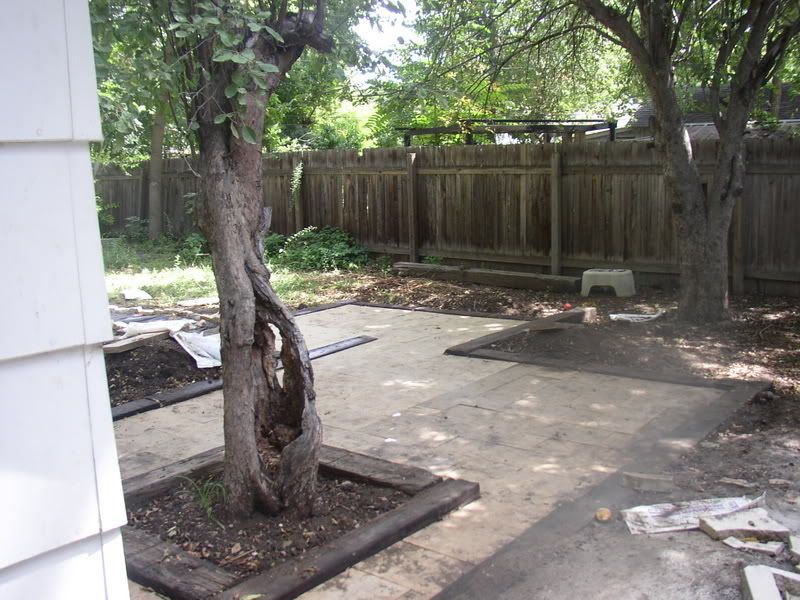
The edges of the patio are salvaged railroad ties; we laid the pavers in 4 inches of sand.

After:
Photobucket
The after picture is in need of a good pressure washing to remove construction dirt, but you can see the finished patio. The shape is two interlocking rectangles. We built the patio around the smaller apple tree; since no cement was used, there is plenty of water flow to water the roots.

We have since added a patio table and chairs, and have spent many a summer evening grilling or summer morning reading the paper while the dogs romp through our jungle!

This post was written for Houseblogs.net as part of a sweepstakes sponsored by True Value.

Friday, November 16, 2007

Look at all the Energy we SAVED!!!

One of the first things we did to our house was install a programmable thermostat. We chose this Honeywell 5-2 Day Programmable Thermostat. $30 later...

This is what we set the thermostat to:
Year 1: 62º (No programmable thermostat)
Year 2: 62º During the Day, 54º at Night and While Gone

Table 1, Monthly Therm Usage

Year 1, Year 2
October: 47 Therms, 30 Therms
November: 24 Therms, 19 Therms
December: 96 Therms, 75 Therms
January: 113 Therms, 63 Therms
February: 69 Therms, 71 Therms
March: 72 Therms, 50 Therms

Average: 70.16, 51.33
Total: 421 Therms, 308 Therms

Table 2, Monthly Outside Temperature

Year 1, Year 2
October: 53º, 56º
November: 44º, 46º
December: 32º, 29º
January: 29º, 38º
February: 37º, 29º
March: 39º, 36º

Average: 39º, 39º

We saved 19 therms a month, simply by installing a programmable thermostat! Installing the thermostat took about 20 minutes of our lives. WELL worth it! We have definitely saved our $30 many times over.

Cost: $30

Wednesday, November 14, 2007

The Great Kitchen Remodel- 70% done

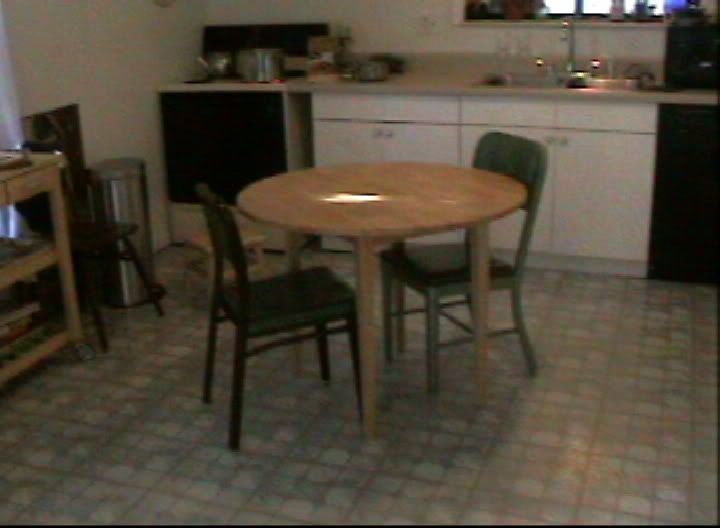
Before:
Photo Sharing and Video Hosting at Photobucket
Notice the white Melamine lower cabinets...
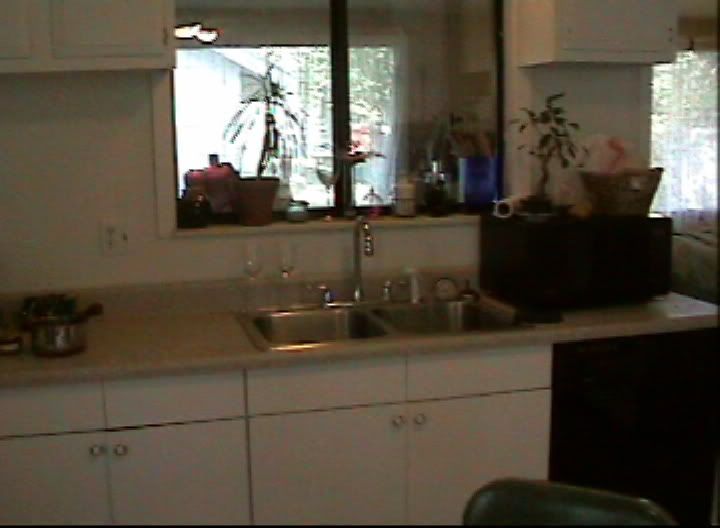
Photo Sharing and Video Hosting at Photobucket
...the window into the laundry room, the badly painted wood upper cabinets, the formica countertop...
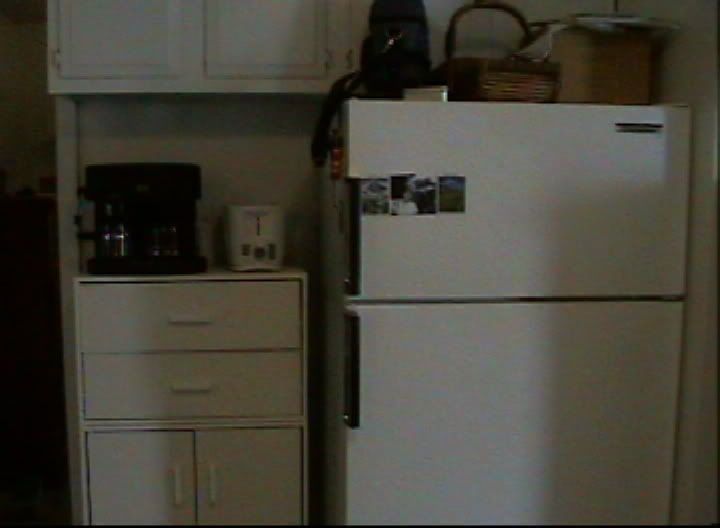
Photo Sharing and Video Hosting at Photobucket
...the impromptu "pantry" cabinet and appliance shelf and aging white refridgerator.

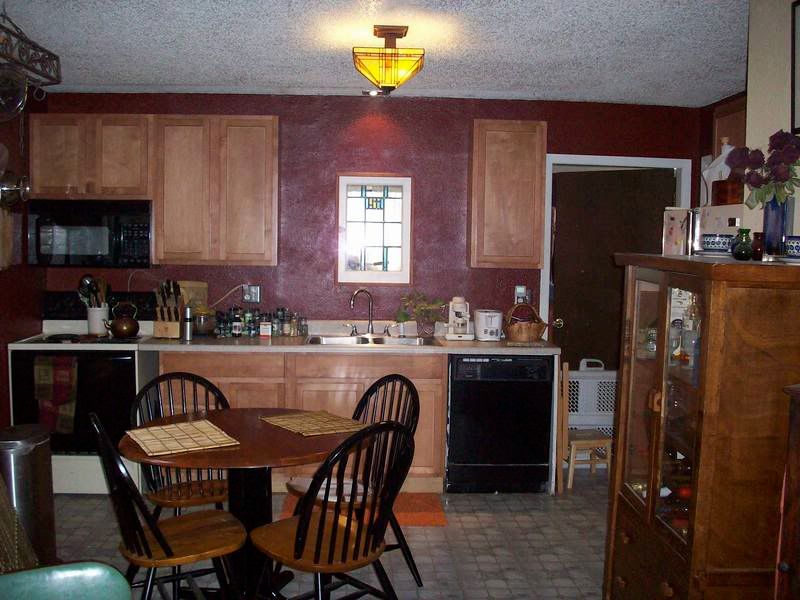
After 70% of the work:
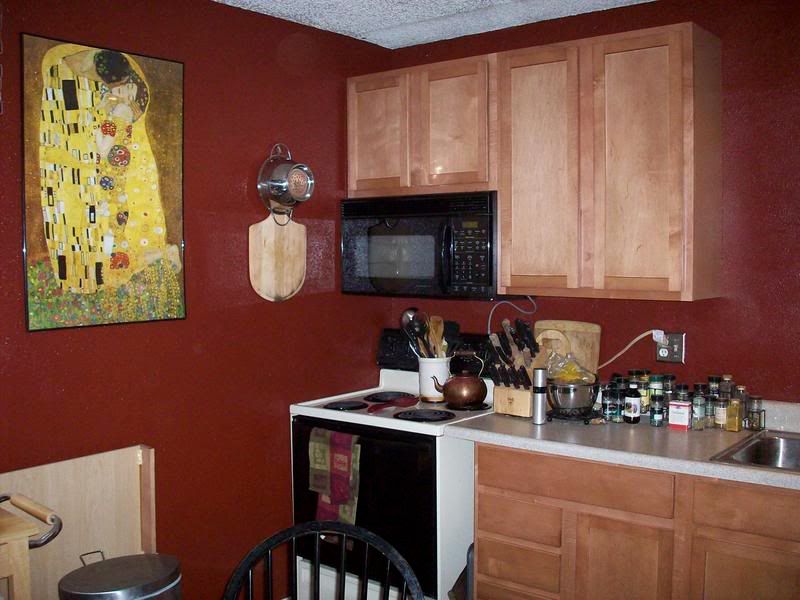
Photo Sharing and Video Hosting at Photobucket

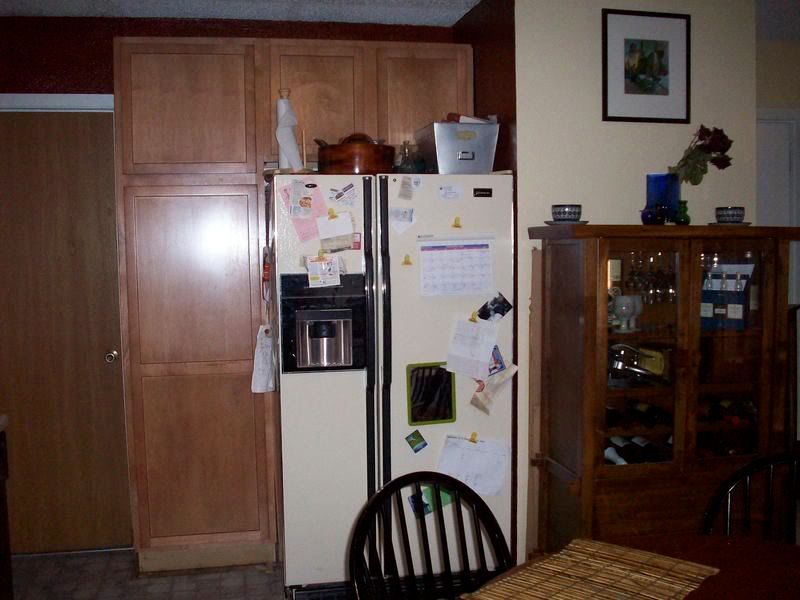
Photo Sharing and Video Hosting at Photobucket

Photo Sharing and Video Hosting at Photobucket

Photo Sharing and Video Hosting at Photobucket
What we did:
First, we painted the whole kitchen a nice brick red. It's actually a brown color, but it looks so red! (Hint: Paint AFTER you rip down the old cabinets, not before)
Then, we ripped down all of the existing cabinets. And then we stared at the mess we created!
(hint: ALWAYS use screws to put up cabinets. It makes life so much easier on those who will take them out in 20 years!)

We decided that it would be better to remove the huge window above the sink altogether. This window is on a wall that use to be an exterior wall... and taking that window out took 2 days of carefully hacking away at that exterior wall, and then carefully prying out the NAILS that held it in (ALWAYS USE SCREWS!). Actually framing in the new stained glass window, drywalling, and painting took just a couple hours.
Putting the new cabinets up was much easier than carefully ripping down the old ones.
  • MEASURE THREE TIMES before drilling the holes. We have quite a few random holes in the back of our cabinets to fill because the studs "moved" on us.
  • Use good clamps to hold the cabinets together.
  • Take the doors off first... it really is easier to install a cabinet without doors.
Where did it all come from?
  • Cabinets- Came from a wholesaler in Denver. We searched for about a year for salvaged cabinets that fit our measurements and our requirements, and unfortunately were unable to find any. They are Merillat Cabinets... the cheapest they make, in maple.
  • Microwave-Freecycle
  • Refrigerator- My in-laws. They remodeled their house this past summer, and bought new stainless steel appliances. We got their old almond fridge WITH ICEMAKER! It matches the existing almond and black stove.
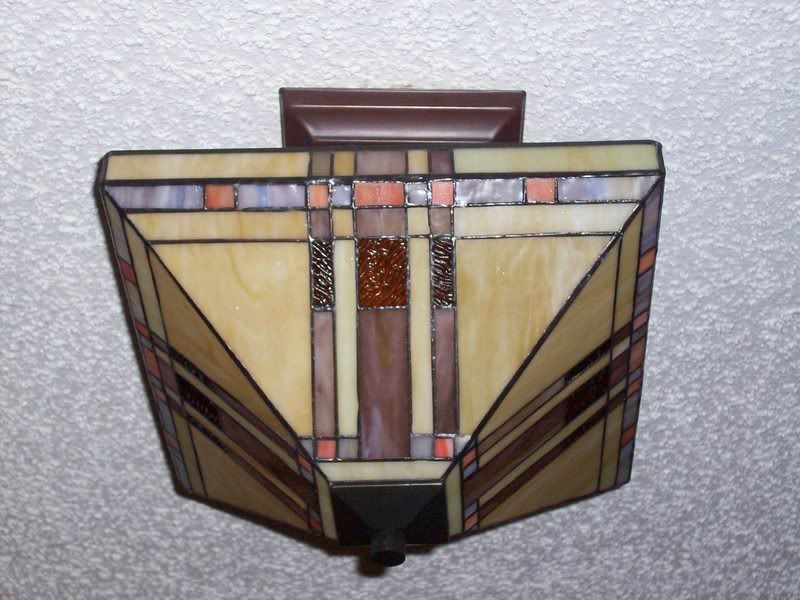
Photo Sharing and Video Hosting at Photobucket
  • My gorgeous kitchen light that I drooled over for months- Lowe's... on clearance the week we were redoing the kitchen!
  • Pot Rack- Pier One (a gift card purchase)
  • Table- My in-laws again!
  • Jigsaw- Pawn shop
  • Stained Glass Window- Ebay
  • Nails, screws, drywall, drywall tape, shims, spackle, paint- Lowes
Cost:
  • Cabinets $1450
  • Ceiling Light $45
  • Above Sink Light $15
  • Jigsaw $10
  • Drywall, Screws, Nails, Studs, Shims, Trim, etc-$40
  • Stained Glass Window $50
  • Microwave, Fridge, Table, Chairs- FREE
  • Paint $20
Total: $1630

But it's only 70% done... what is left?

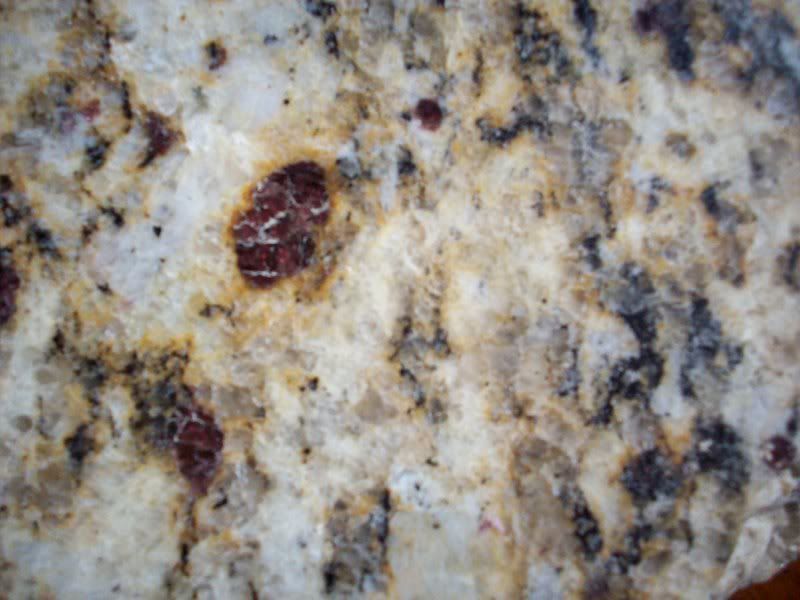
We have granite countertops to make, using a salvaged countertop. This will require us to get up off the couch, drive down to Denver, and use the shop. Here's a picture of the granite... notice the dark red crystals in it (same color as the walls).
Photo Sharing and Video Hosting at Photobucket
We also have flooring. Should have done that first. Post about the flooring (which isn't done yet) soon. Hindsight is so 20/20!

Monday, November 12, 2007

Our Limestone Patio- 200 hours of work!

Before:
Photo Sharing and Video Hosting at Photobucket
The front part of our backyard, with two apple trees, an old picnic table, and a large quantity of gravel and wood chips. Oh, and 12 bottle caps, a rusty spring, a door hinge, a bunch of broken glass, including the bottom of a beer bottle, and more!

During
Photo Sharing and Video Hosting at Photobucket
What a great workbench that picnic table makes! It is serving as jack-of-all-trades in our house remodel. Notice the wonderful "gate" into our backyard, too... the vinyl lattice we wired up!

After:
Photo Sharing and Video Hosting at Photobucket

How we did it:
We are very lucky to have access to a large scrap pile of stone, from which we can pick whatever we want and have it delivered for the price of a case of Negra Modelo or Bass Ale. My father-in-law runs and owns an architectural stone cutting shop. He works on multi-million dollar houses. We get the rejects, overages, and off falls!

The patio is made out of Cottonwood limestone. It is all from the waste pile, where it was headed to be ground into aggregate. It is approximately 3 to 4 inches thick, and sitting on a bed of about 3 inches of sand. It is framed in with recycled railroad ties that are dug into the ground and anchored below the frost line with 3 foot rebar. We used a circular saw with a diamond blade to dry cut the limestone, and used a belt sander with garnet sandpaper to finish the stone.

We went through a LOT of sandpaper, and a LOT of beer. A long, HOT project!

Where the materials are from:
Railroad ties- Freecycle
Limestone, Diamond Blades- Father-in-law's shop and waste pile
Sand, Sandpaper, Rebar- Home Depot

What we spent:

$20 for a case of beer for my dear father-in-law
$200 for sand and rebar
$10 or so for gas to haul the railroad ties
$40 in sandpaper
___________
$270 total cost for patio!