Tuesday, November 25, 2008

Window Trim Up...

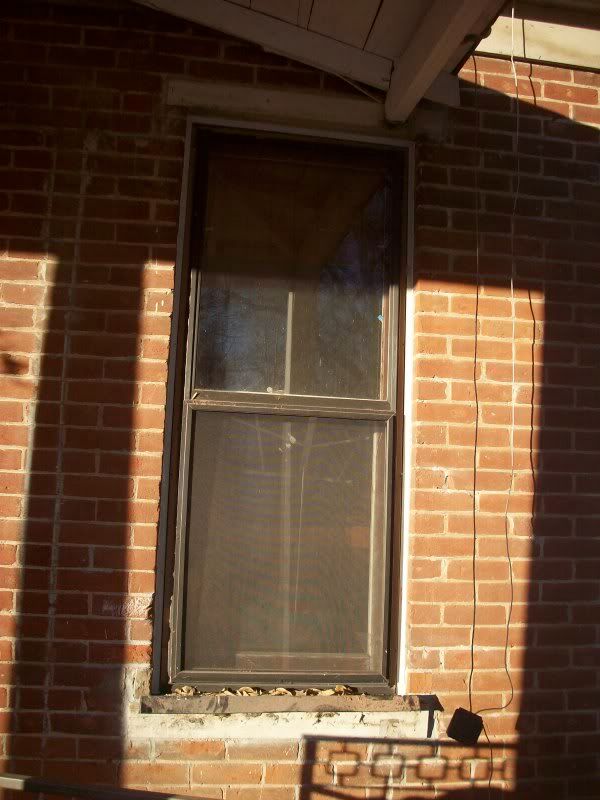
The window trim is up and caulked. It's amazing how much better it looks even painted white! Without the trim, the windows looked like sunken eye sockets.

Photobucket

It was harder than expected to nail the trim in. It would have been much easier with a nail gun, but we are cheap and muscled through with 20 ounce hammers and 6D finish nails. Also, I learned how much I hate caulk AND sticky fingers. The only way to tool the caulk against the very uneven brick was to use a finger; this felt like scraping down concrete with my fingertip all day. It's still raw.

Painting, and caulking between the trim and storm with temporary, removable caulk is next. I'll be painting the trim white, as next spring, we'll take down all the storms, rehab the windows, put decorative molding on top of the trim, replace the storms, and paint! Still no decision on paint colors, though that might be decided soon when we paint the new front door!

Monday, November 24, 2008

Window Gaps, or HOW DID I NOT SEE THIS?

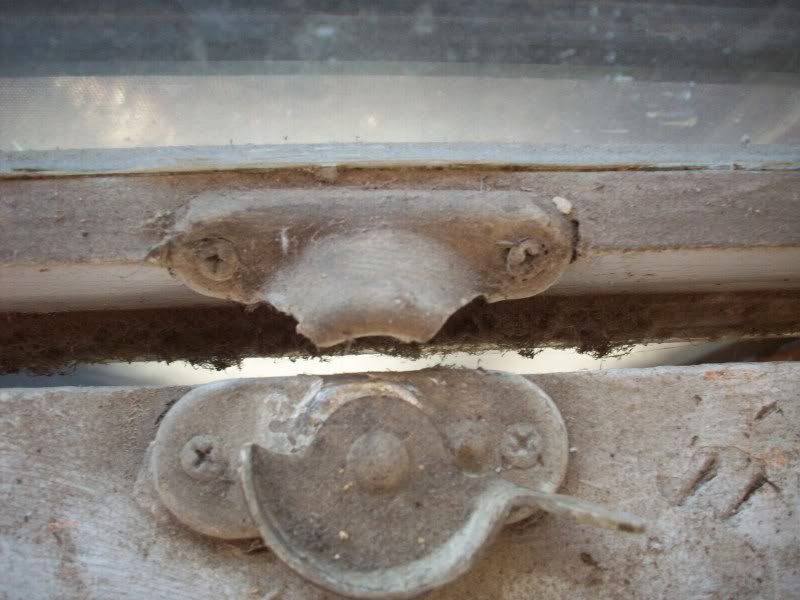
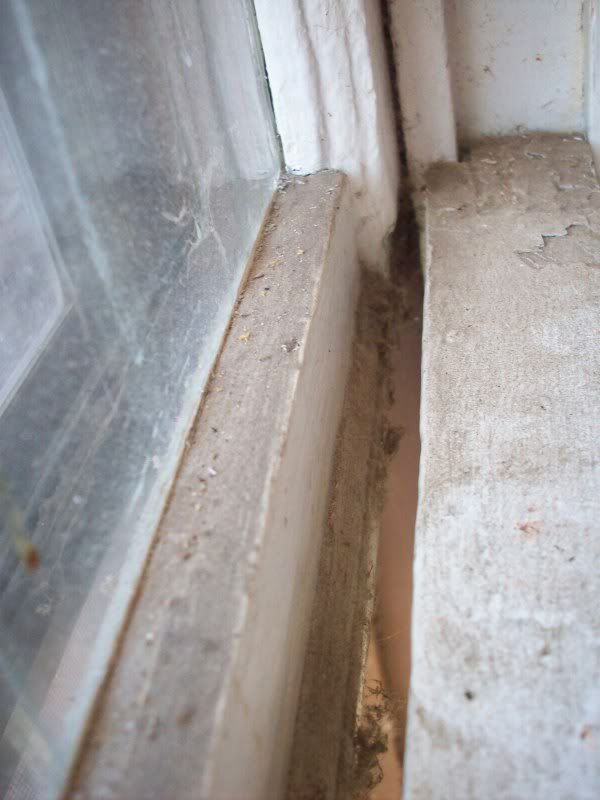
We've been installing the exterior window trim this week, and so have been paying a lot of up close and personal attention to the windows. While working on the kitchen window (a window that we have never opened and that is partially blocked by a kitchen cart), I noticed something peculiar:
Photobucket
Photobucket

Yes, that IS a half inch wide gap between the sashes. And yes, it is there even when the lock is turned. And yes, I could feel the cold air rushing out of it into our kitchen, even on a 50 degree day! What in the world is it doing there?

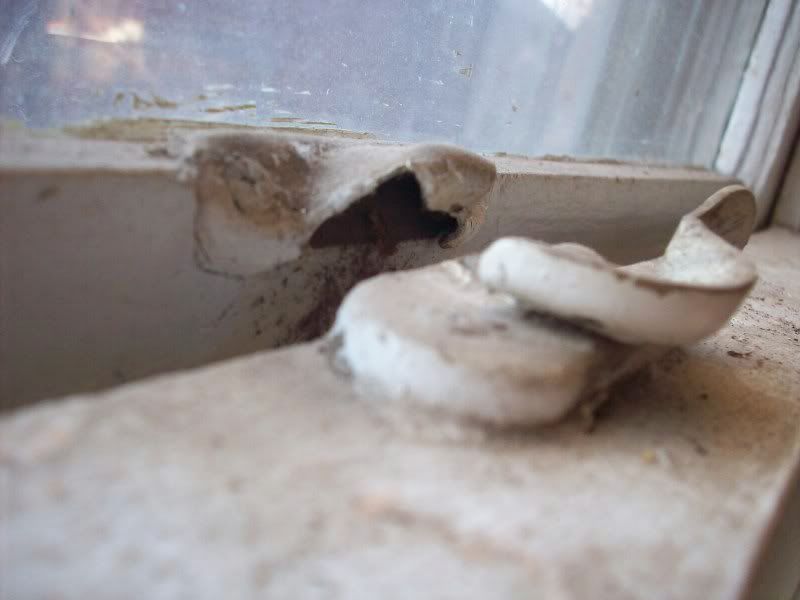
A better look at the sash lock:
Photobucket

The top part has been mortised into the top sash at a diagonal. How odd! It almost appears that the entire bottom of the top sash is a replacement in the wrong size... but why?

I stuffed some of that foam insulation tubing into the gap; any better ideas for winter? And.. what in the world should I do about that window in the long run? My goals are to rehab the windows... but this particular window is throwing quite a curve on many levels. (We discovered today that the frame is rotting in places; the bottom sash has metal squares bolted onto it for stability, so it is obviously a little unsound there; and no this!).

Friday, November 21, 2008

A New (Old) Storm Door

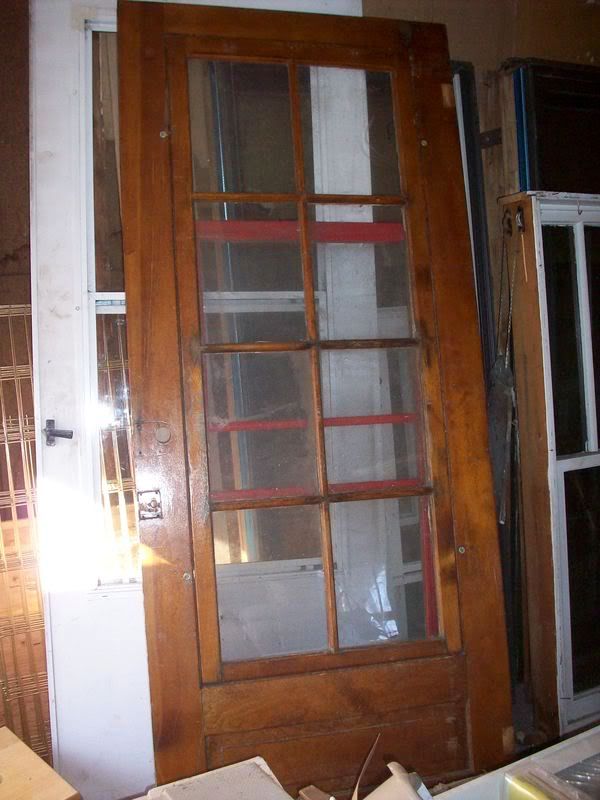
Picked up this storm door a few weeks ago; it needs a lot of work, but is just the right size for our odd opening.

Photobucket

It came with a glass storm insert AND a screen insert (the red behind the glass). One pane of glass is broken, and all of the panes need re-glazed. Part of the door needs re-glued, and the exterior side needs repainted, as the red paint is peeling and chipping. We'll leave the interior side natural. I'm excited; this should be the perfect small scale practice for reglazing our windows.

Thursday, November 20, 2008

A Gift from a Colleague

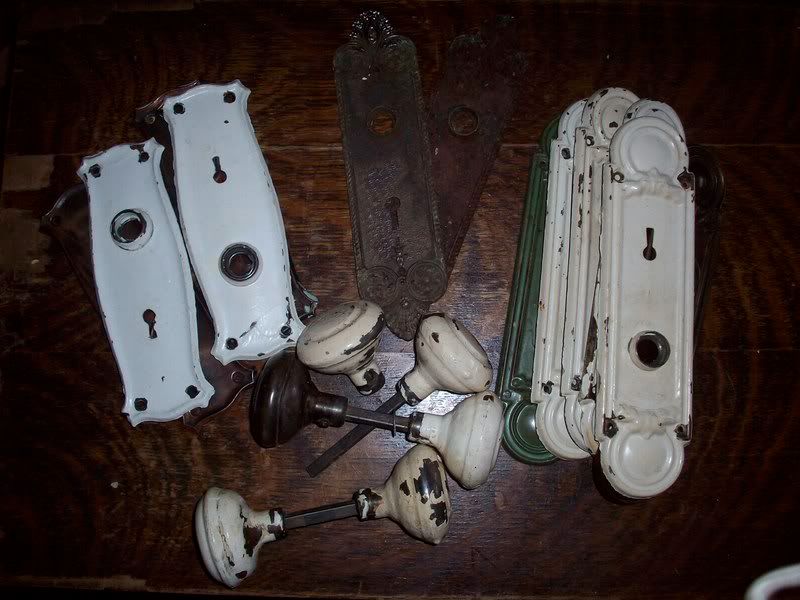
At a recent rehearsal at a fellow musician's house, I found myself admiring the doorknobs and plates in his 50's style split level. They were all different types and vintages... Victorian, Art Deco, etc. Upon inquiring, I learned that they came from some of the 90 old houses torn down by the town's hospital during expansion over the years. He works with the maintenance department, and so was part of the demo. He saved all of the lighting and hardware that he could, and used much of it in his house.

He offered me the remaining doorplates and knobs, as every door in his house had a new old knob and plate.
Photobucket
I'm excited... there are enough plates to do all of the doors in our house! And, the brass knobs coupled with the black jet clay knobs I have should finish our doorknobs out, too!

It looks like I will be spending some time with a crock pot removing the paint; otherwise, they seem in excellent condition. Character is re-entering our house!

Wednesday, November 19, 2008

My Little Box of Memories (A Christmas Preview)

This is my box of Christmas memories- past, present, and future. A satin Hallmark ornament from a first Christmas at 2 months old. A three year old's thumbprint mouse on a canning lid. A painstakingly painted ceramic donkey, with brushstrokes as steady as a seven year old can manage. Reindeer, angles, Santas, bells... and so much more.

Photobucket

It was started by my mother, who carefully saved every ornament I made, and contributed a new one every year. Each ornament is marked by the year. I can remember placing each one for the first time on the tree, carefully choosing a spot on Christmas Eve or Day. These days, both my husband and I add to the box with ornament gifts from students and each other. The box is full of love.

This box starts every Christmas season for me. In a week, we will make steaming mugs of hot chocolate, and carefully unwrap each treasured ornament. We'll reminisce about each ornament as we place it on our tree with a strand of white lights. Then we will flip the switch, sit in the glow of the twinkling tree, and celebrate the love and memories of the Christmas season.

Window Trim

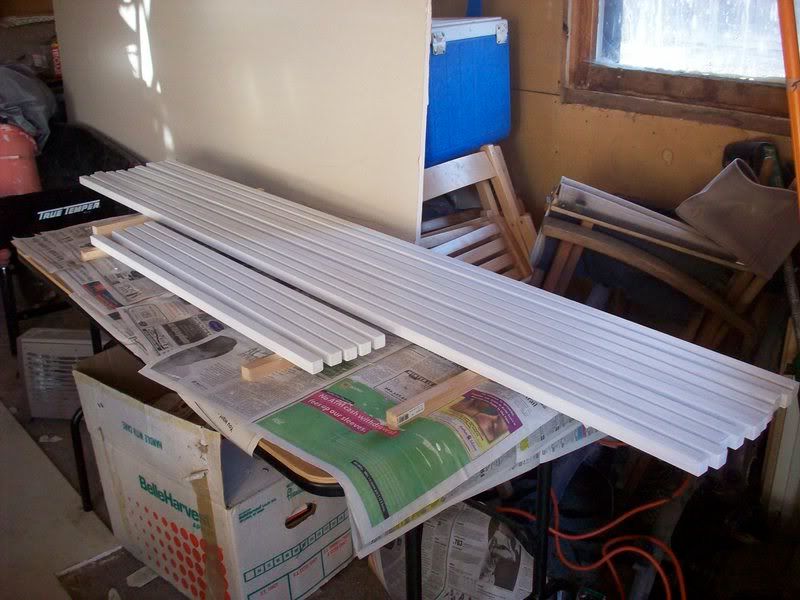
The plan was to have the exterior window trim finished this weekend; a nasty cold said otherwise! I still can't talk, but am feeling better.

Here's what I accomplished before falling ill:
Photobucket

All of the wood is cut and primed on all sides, and is ready to be installed! It is 3/4" square pine molding; we are going to "build out" the molding in a more decorative style when we paint in the spring.

We are looking at beautiful weather (for November) this weekend, so we should have it up, caulked, and painted soon!

Friday, November 14, 2008

The First Snowfall of Winter...

fell last night. It's just a light dusting on the ground and on my windshield... but it's the promise of more to come. I love snow!

Time for me to finish the window trims and get them installed and caulked! I spent a few hours cutting the wood yesterday and began priming... I'll finish priming them today (and maybe even paint them).

Thursday, November 13, 2008

Mason's Reply and the End of All This

I received a reply back; selected passages below with my comments in red:
When we started this project using the sand and lime type mortar (very soft) we were lead to believe that the structure of the house was sound (NO such thing. We called HIM in to let us know what the condition of the house was).
...on returning to complete the tuck pointing I could not in good faith use the soft mortar. You knew that we were using the mason mix product diluted with mortar color. (NO! I did NOT know you were using Mason Mix with portland cement in it. You asked me on day one if the color you had used in July was right. I told you it matched almost perfectly with the old stuff. When I asked about the difference in look on Thursday, you assured me it was a "prepackaged version of the same thing", even after I said that I had seen a portland cement type mortar bag lying around. You told me that there was no portland cement in it, and pointed to a patch on a neighboring house to show me what that would look like. )
This mortar will NOT adversely affect the brick. Also, the original estimate did not include repairing the holes created by the heli ties. At 27+ man hours I feel that we have gone above and beyond the original scope of work.
(True... I was surprised that he didn't charge us more, as I had told him to add the extra work to the estimate)
If you find that our methods are causing damage to your brick we will warranty and remedy it then. I do not feel that this will ever happen. I have have worked on other similar projects using the same methods and have never had any issues. I hope that this eases your worries.
(I am NOT eased of worries, but I will take your warranty)
We do not have a contract that I can find anywhere; my bad. And, essentially we have no legal leg to stand on. Even though he lied to my face three times, and again in writing. We're taking the warranty and will use this as a life lesson hard won. I requested a written and signed copy of the warranty, and have filed it away. I will likely start REpointing the spots affected when we are done with the rest of the house... the warranty should hold us until then.

I think the part that hurts the most is that I conciously paid MORE money to have it done in a way that would protect the house... $1000 more, in fact. I could have had the same job done for $800 using the mortar they used the second time.

Hard Life Lesson #1: Don't assume that anyone you hire to do the work won't try to cut every corner to save time and money. Don't assume they will talk with you about their choices, even if you are home while the work is going on and make yourself available several times a day. Don't assume they won't LIE to your face when cornered on their choices.

Hard Life Lesson #2: Do it yourself, or spend the same amount of time WATCHING the worker constantly.

Hard Life Lesson #3: When needing brick work redone, spend the extra money to hire the man from Denver who teaches about historic restoration in addition to DOING historic preservation only as a job. It's probably worth it, even after you pay the travel fees.

(In response to comments about our brick and mortar, we are sure that the brick is the soft oven fired variety... it is soft enough that a light scrubbing with a toothbrush removes brick. One could easily scratch it with a nail. Our mortar is white, sandy, and appears to be solely lime and sand; this is from a few different masons, and from practical experience.)
Monday, November 3, 2008

Dear Mr Mason

I looked up the ingredients in the Quikrete Mason Mix Type S mortar you used; it's 3-1/2 to 4-1/2 parts masonry sand, 1/2 part hydrated lime, 1 part Portland cement (by volume). There is not nearly enough lime. It's also the second hardest mortar you can buy. I've found examples of Type S mortar dried and cured, and it is grey, not white.

I'm concerned about the effect that this hard mortar will have on my brick. I'm also disappointed; I had several bids done on the house, including one by a man who wanted to use a modern mortar (such as you finished the job with). His price for the house was $600 to $800. We decided that paying the extra money was worth it to us to have the integrity of the brick ensured. Of course, that price didn't include the patching of the bricks, which does look beautiful and I could see took work to look as good as it does. I'm not seriously concerned about the chemical composition of the patches, either, as they will simply pop off if it is unsuitable.

I'm wondering what we should do about this. As it stands, I'm looking at spending next spring chipping out all of the Type S mortar and replacing it with proper mortar (and hoping that the freezing/thawing over the winter doesn't hurt my bricks first).

Thank you for your concern on this issue; I'll wait to hear from you before I send payment.

Sincerely,
Tiny Old House

Saturday, November 1, 2008

It's My Birthday!

I'm a shameless birthday promoter. I love birthdays. There is something magical about a holiday that is just for you and you alone. A celebration of life and love!

I'm another year older, perhaps another year wiser. What will happen this year? Only time will tell, and I do love a good surprise.

Happy Birthday to all November 1st babies!