Here's the new old front door.
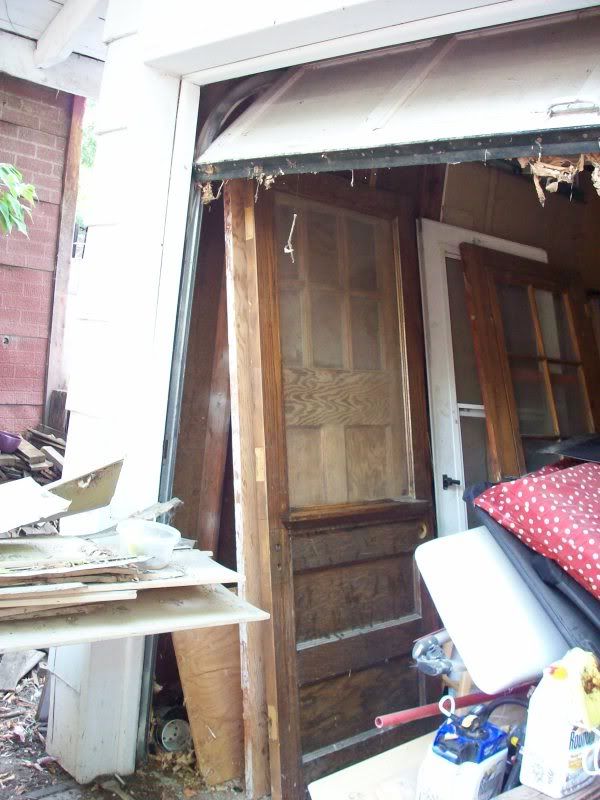
It has a very pretty dentil style molding under the beveled glass window, and matches our house age perfectly... it's almost identical to the one on the version of our house a block away.
The finish is cracking in places, and there is quite a bit of dirt on the door; luckily, it is shellacked and a simple wipe with denatured alcohol and a nylon scrubby removes the dirty cracking finish while leaving all of the aged character.

The door is not perfect; at one point in it's history, a standard lockset hole was drilled into the side opposite the original mortise lock. We'll be using the original holes, and plugging the circular hole. Hopefully, with stain, shellac, and the careful used of artist paints and brushes, we'll be able to hide the patch!


