Showing posts with label Tile. Show all posts

Monday, June 16, 2008

Our New Countertops

My father-in-law graciously spent his Father's Day installing our granite countertop. (The one he created for us out of salvaged granite). I was away most of the day for a concert, so I apologize for lack of play-by-play.

Here's the workbench...
Photobucket

When We Bought... After Cabinets...
PhotobucketPhotobucket

With Granite!
Photobucket

Notice the super fancy edge... I'm sure it was expensive when new.

We aren't finished yet... as you can see, there is still a gap between the stove and the counter/cabinets and no backsplash. The gap we intend on filling with a piece of butcher block counter with knife slots and a small door to hide our baking pans...

and here is one idea for the backsplash. The GREAT part about this backsplash is that we already have all of the materials, so it would be free.

Photobucket

The hexagonal tiles I picked up at Habitat a few months ago for cheap!
Here's an "up-close"...

Photobucket

I can't decide whether it looks REALLY good or REALLY bad. I also thought that replacing a few of the tiles with a color would look nice... I tried red below:

Photobucket

Any thoughts? I think cream subway tiles would look good, too... and so would white/torquiose/red glass mosaic tiles... but both of those options cost money, so it would be at least 4 months before we could start the backsplash.

Wednesday, December 5, 2007

More Bathroom Plans...

Our bathroom is coming together. We are a backwards sort of people, so we did the floor first. Here are more plans:

First:
This window in the shower needs to go. It is rotting, and covered with a small piece of vinyl shower curtain. Definitely not attractive.

The plan?
To replace the window with glass blocks.

The problems?
The window is 24 inches wide. Glass blocks are 8 inches wide. If I put 3 blocks in the window, there is no room for mortar. Also, it is 35 inches tall. What should I use to fill the gap? Must research this further.

Second:
I HATE the tub surround tile. It is fake marble. FAKE, FAKE, FAKE. So fake that you can SEE the pixelation from the printer that created the pattern. Each tile is exactly the same, too.
Even WORSE than the fake marble tile is the accent tile. It is a baby blue/slate grey concoction that gives the appearance of being rope.
They do not match our bathroom at all.

The plan?
To carefully chip out the blue accent tile and replace it with slate tiles cut to fit. I'm trying to decide whether to do long pieces of slate or short (1 inch) pieces of slate.


Third:
Our bathroom needs more storage.

The plan?
I am going to build two extensions to the vanity that will fill in the area between the vanity and the wall. They sell cabinet doors for fairly cheap, so I will be able to match the existing doors.
I'm going to put marble countertops on top of the two units, to "match" the fake marble shower surround.
I want them to look different than the existing white counter, since they will never look like "part" of it.

Fourth through Seventh:
Replace the shower curtain and rod.
Finish the doors.
Finish the molding and trim.
Paint and texture.

Sunday, November 25, 2007

Our New Slate Floors

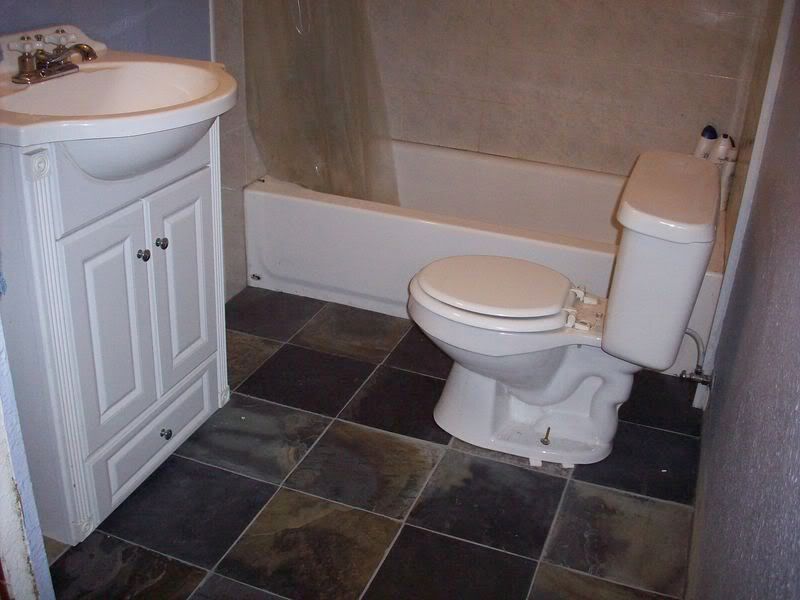
This weekend we installed the slate in our bathroom. It took us 2 days from start to our current stopping point. I was pleasantly surprised to notice that my previous mistake was not noticable on the installed floors.

How to install slate on top of HardiBacker:
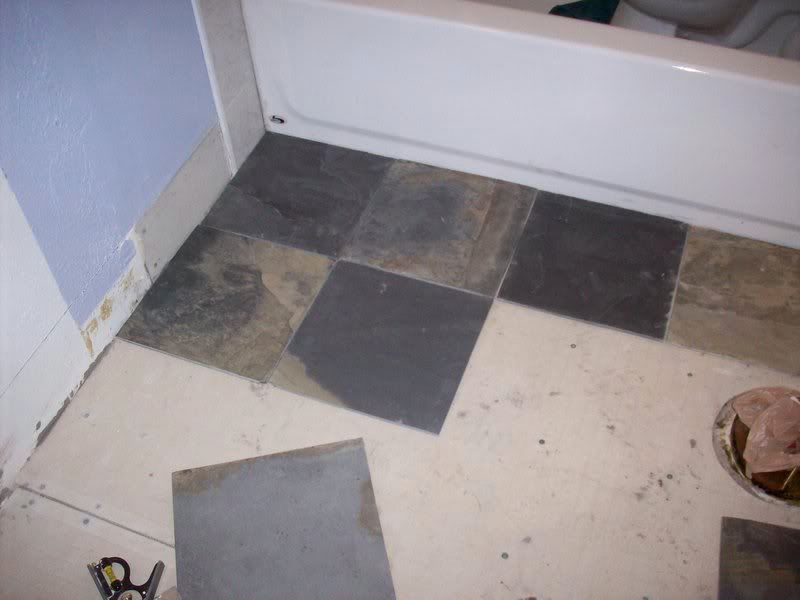
1) Dry lay the tiles to make sure they fit. The rubber spacers they sell were somewhat useless with the inconsistent shape of the tiles, so we didn't use them.
Photo Sharing and Video Hosting at Photobucket
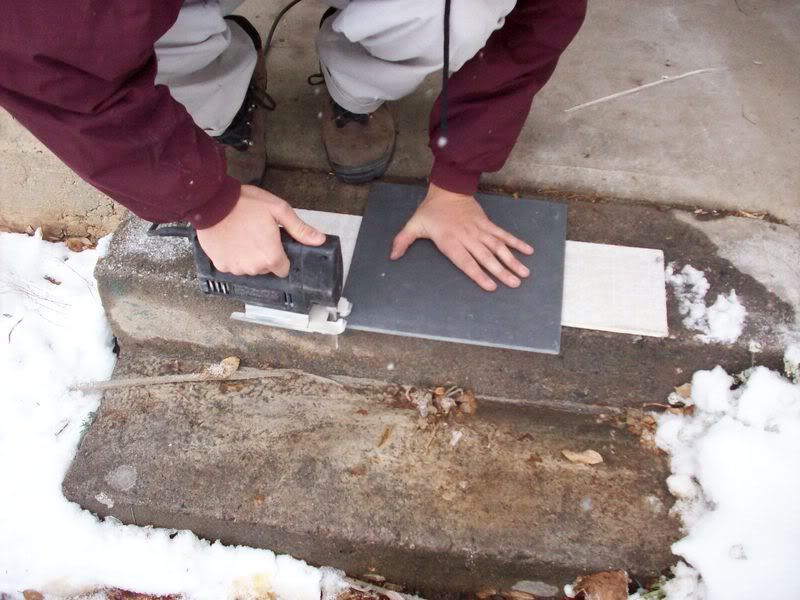
2) Use a diamond blade to cut the stone. We dry-cut using a diamond blade on a jigsaw for the detail cuts (such as the circle around the toilet) and a diamond blade on a circular saw for cutting the long straight cuts.
Hints: The jigsaw cuts a nice, smooth, even and nice-looking line, with little to no breakage and crisp edges. The circular saw, on the other hand splintered the edges of the tiles, and chipped off a considerable amount of stone. We used it only for edges that would be hidden.
Photo Sharing and Video Hosting at Photobucket
3) We used a rapid setting mortar so that our toilet (only one in the house) would be usable before sundown. I spread it on the floor with an old rubber spatula and used a 1/2 inch trowel to create those "grooves" in the mortar. After 4 hours, we were able to replace the toilet/
Hints: A drill with a mixing paddle makes quick work of the required 5 minutes of mixing.
Photo Sharing and Video Hosting at Photobucket
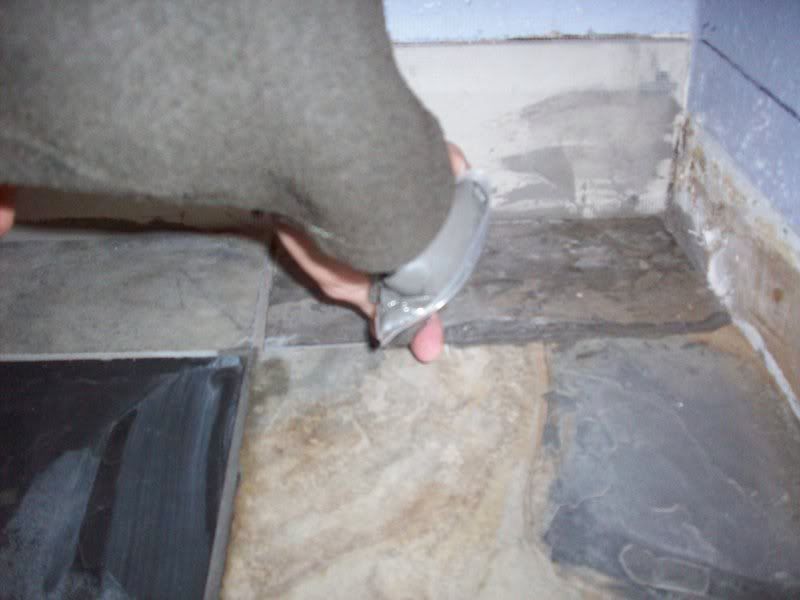
5) We installed the grout using sandwich baggies to "pipe" the grout into the cracks. We did this because we are inexperienced at grouting.
Hints: Use lots of warm soapy water to clean up... and wipe every tile at least three times to remove the excess grout.
Photo Sharing and Video Hosting at Photobucket

Photo Sharing and Video Hosting at Photobucket
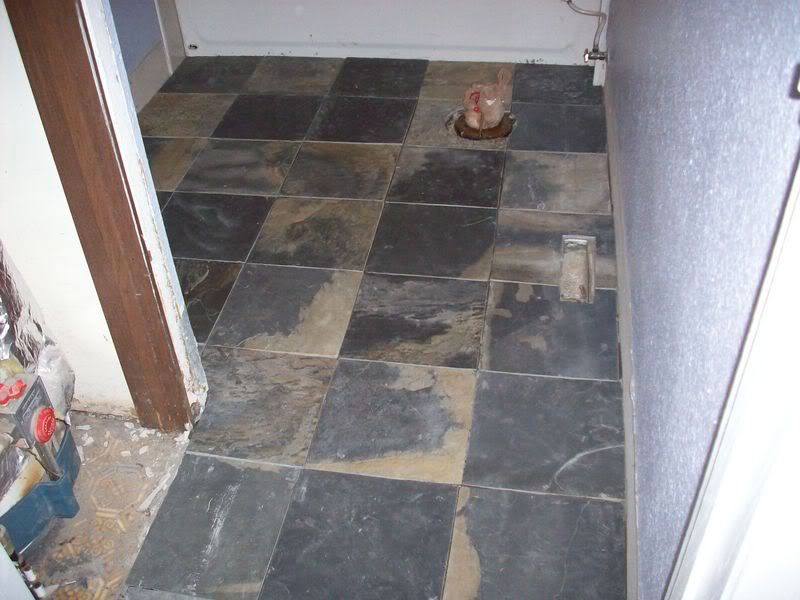
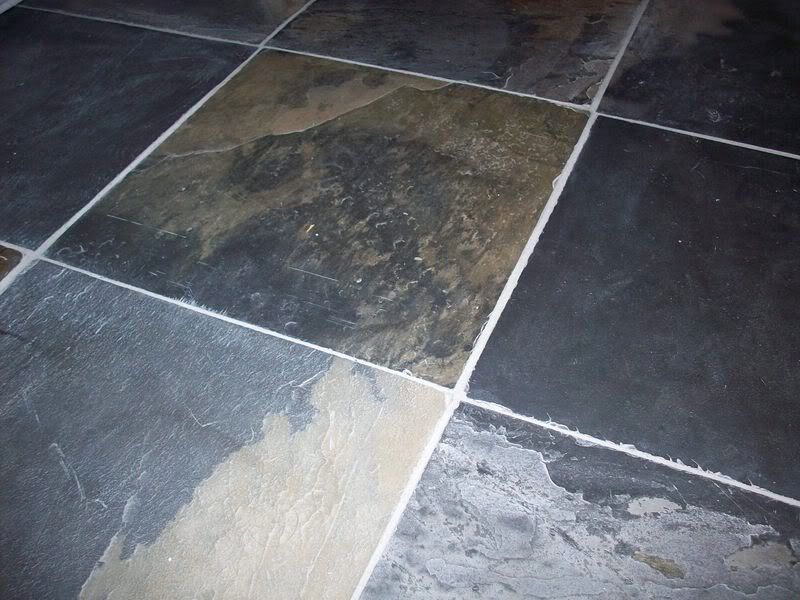
The finished and dry grout lines. The grout looks darker in real life; it is about the color of cement.
Photo Sharing and Video Hosting at Photobucket
The finished floor!


What and Where and How Much?
  • Laticrete Tri-Poli Sanded Grout- Habitat for Humanity ReStore- $2
  • Ultra Flex Thinset Mortar- All About Floors- $18
  • 1/2 inch trowel- Habitat for Humanity ReStore- $1.25
  • Diamond Blade for jigsaw- Lowes- $5
  • Sponges- Grocery Store- $2
  • Slate Tile- Craigslist- $30
  • Sealer- Habitat for Humanity ReStore- $2
  • Hardibacker- Freecycle and Lowes- $30
  • 1/4 inch trowel- Habitat for Humanity- $2
  • Wax Rings for Toliet- Home Depot- $5
Total Cost for Bathroom Floor: $104.25


Monday, November 19, 2007

Intalling Hardibacker! YEAH!

We spent Saturday installing Hardiebacker on the floors and walls in preparation for slate. This job went a little better than the sealing!

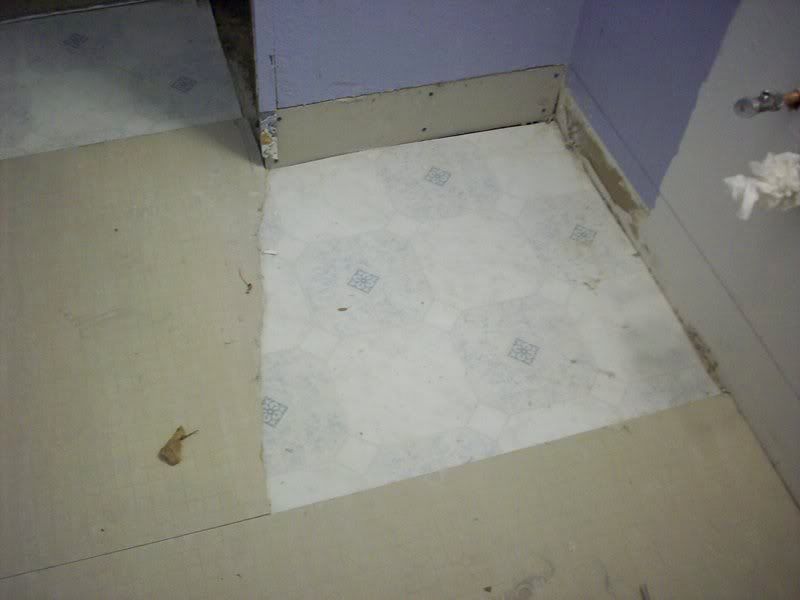
First, I had to uninstall EVERYTHING. Everything includes the sink and toilet and baseboard. This is the ONLY bathroom in the house... what was I THINKING?
Photo Sharing and Video Hosting at Photobucket
Our new kitchen chair
Photo Sharing and Video Hosting at Photobucket
Removing the sink
Photo Sharing and Video Hosting at Photobucket
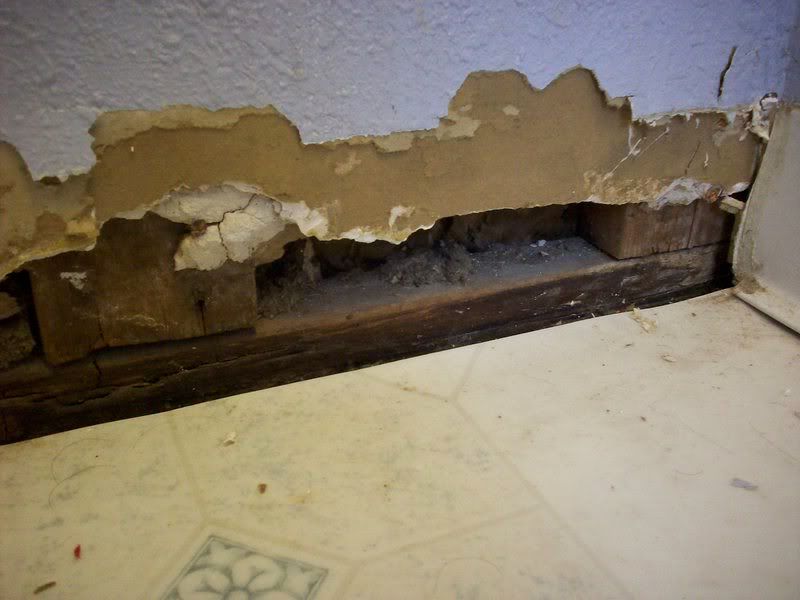
This is what the walls look like underneath the baseboards.

First, we cut out the drywall six inches from the floor to accommodate the new cement board. I discovered an old mouse nest, complete with book order forms from the 1980's, a business card for a plumber, and the original floor to the next room, hidden under plywood and carpet.

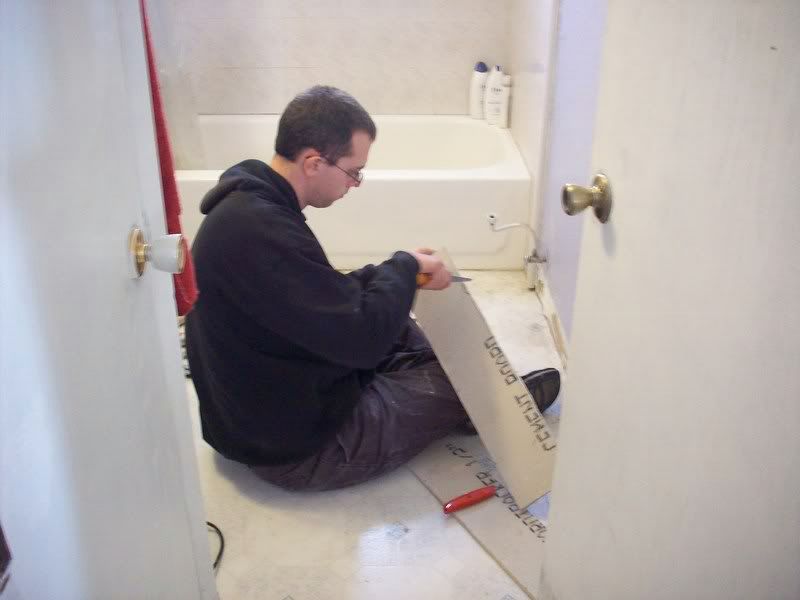
Then, we cut the HardieBacker into 6 inch strips.
Photo Sharing and Video Hosting at Photobucket
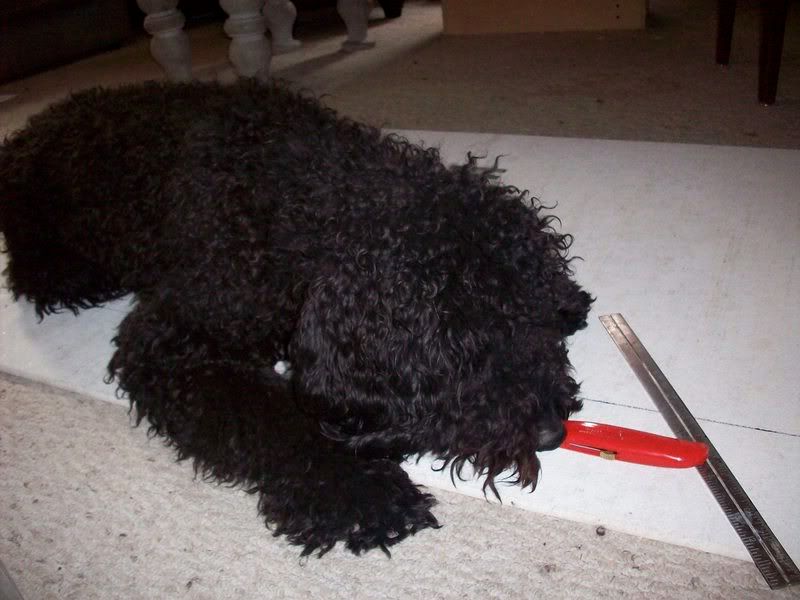
Kirby helped cut with the utility knife
Photo Sharing and Video Hosting at Photobucket
The utility knife version of cutting HardieBacker (score and snap) was essentially useless and time consuming. We had much better luck with a diamond blade attached to our jigsaw. (I LOVE our jigsaw).

After cutting and dry-laying everything, we spread thinset with a 1/4 trowel, laid the HardieBacker on top, and then screwed it down every 4 inches or so, according to the directions. I'm reading directions more carefully these days.

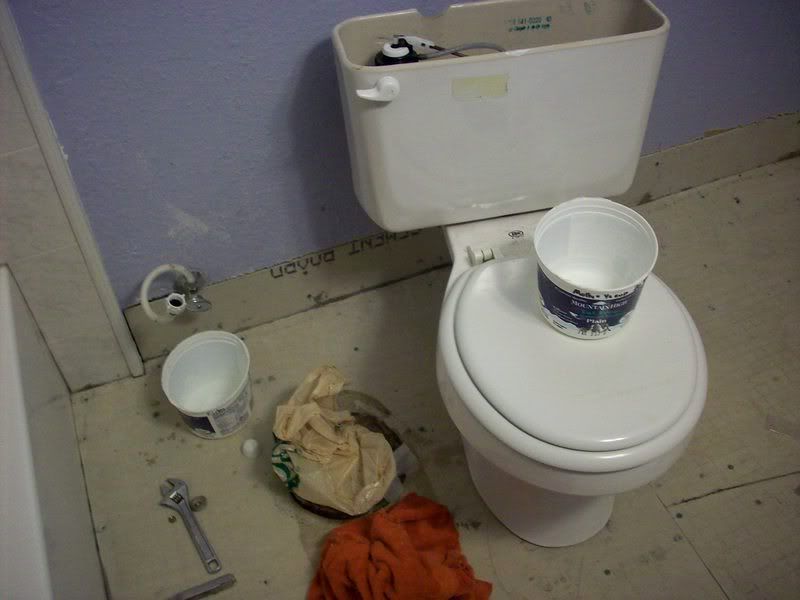
We then replaced the toilet, flushed it, and... WAIT! There's water EVERYWHERE!
After a quick last minute trip to Home Depot 5 minutes before closing for a new wax ring, we have a working toilet!

The (somewhat) finished product...
Photo Sharing and Video Hosting at Photobucket
To be finished this week!

Tips and Hints:
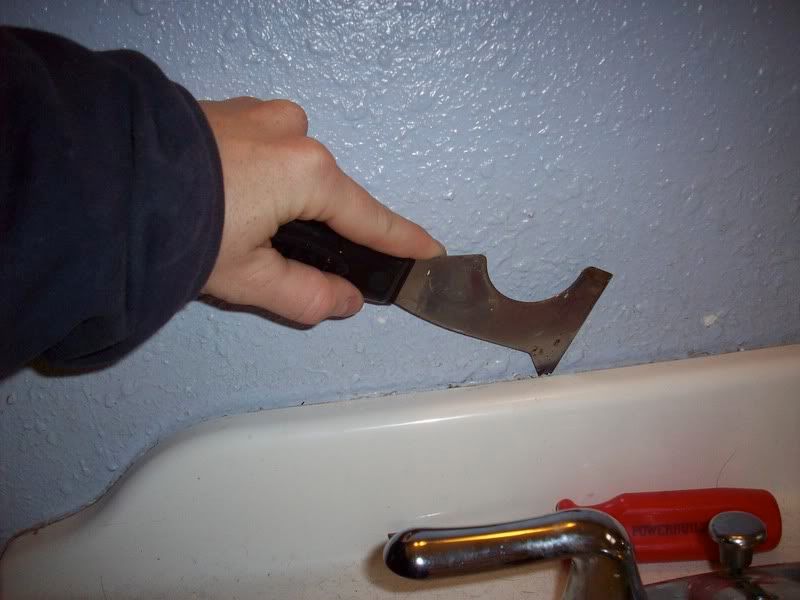
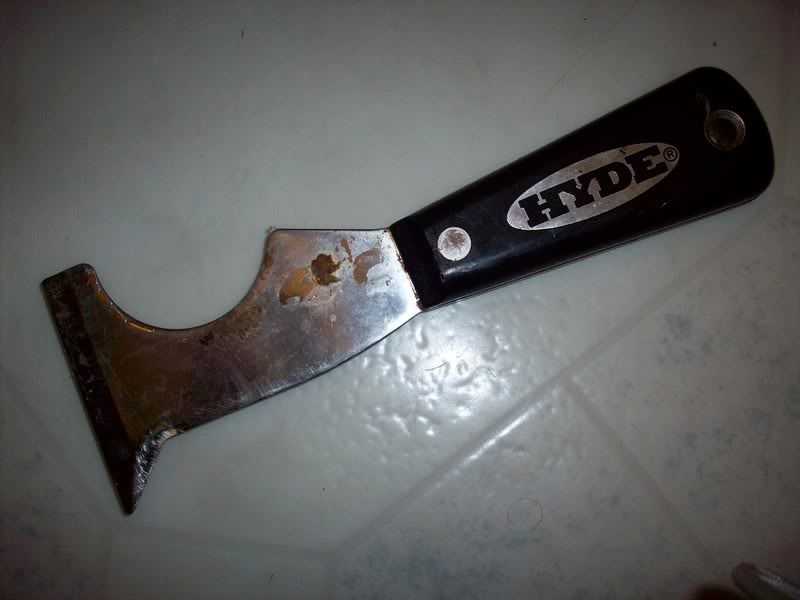
  • Photo Sharing and Video Hosting at PhotobucketThis is the best tool. It does EVERYTHING! I used it to scrape caulk.
  • Don't cut the hardiebacker inside. The dust is caustic. It HURTS!
  • When a screw doesn't "screw", don't keep trying and strip the ONLY drill bit you have that fits those screws, forcing yet another trip to Home Depot.
  • Photo Sharing and Video Hosting at PhotobucketDon't force the HardieBacker into any tight spots. It will break. You will cry, since it is $10 a sheet. Then, you will pretend you never broke it, and lay it down anyway.
  • Always replace the wax ring on a toilet whenever you mess with the floor height. Even if it is only 1/4 inch!
Where is it from?
  • Hardibacker- Freecycle and Lowes
  • Thinset- All About Floors (a local tile shop)
  • Diamond blade- Lowes
  • Wax toilet ring and drill bits- Home Depot
Cost:
  • HardiBacker- $20
  • Thinset- $18
  • Diamond Blade- $5
  • Wax Ring- $5
  • Drill Bits- $2

What Have I DONE?

My beautiful slate! It's watermarked and stained! If you remember, last week I sealed the slate with a penetrating sealer. Apparently, I didn't follow the directions well enough, because this happened!

The directions call for pouring the sealer on, waiting 10 minutes, and wiping the excess off. This seemed like a huge waste of sealer, and somewhat impossible with individual tiles, so I opted to brush it on a few times, wait until the stone was no longer soaking sealer up, and then wipe off the excess sealer. That's what I get for not following instructions!

I have bought a bottle of sealer REMOVER. The current plan is to install the tile as-is, and then treat the whole floor with sealer remover. Then, re-apply the sealer using the EXACT instructions! Sigh.

Wednesday, November 14, 2007

Sealing the Slate

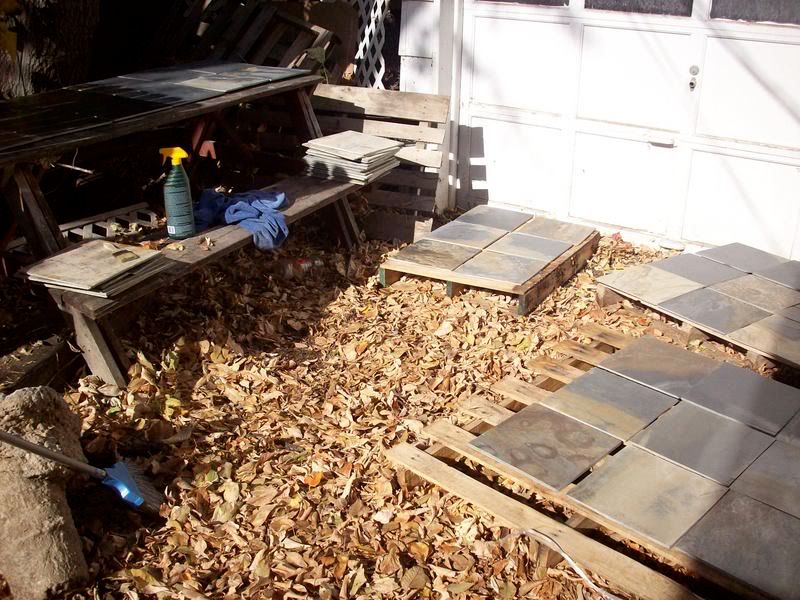
Our bathroom is getting new floors! Goodbye, peeling and cracking blue vinyl... HELLO SLATE! I have been gathering slate for this project for a few months. It's nice... blues, beiges, and greys. But, before I can install it I need to seal it with sealer so that the grout will not stick to it. I am NOT a good grouter, so this is a preventative measure.

Photo Sharing and Video Hosting at Photobucket

Notice the nifty picnic table workbench... it is incredibly useful! The pallets I have gathered to make compost piles (what a slacker) were useful, too. And, maybe when I'm done I can compost all of those LEAVES in them!

Photo Sharing and Video Hosting at Photobucket

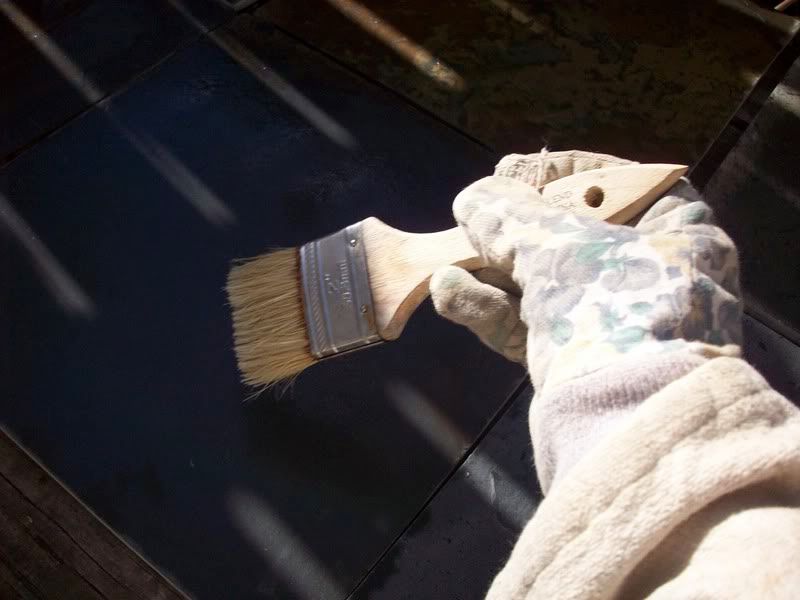
To seal the slate, I used a penetrating sealer, brushed on with an old paint brush. I have put two coats on. It's pretty hard to keep the sealer off of the edges of the tiles... I am hoping that a little sandpaper on the edges before installing will help prevent any problems!

I found the sealer... TileLab SurfaceGard Penetrating Sealer at the Habitat for Humanity ReStore for $2 yesterday. It was full, and looks hardly used. There are so many jars, bottles, and cans of such things there, from people who buy it for the 1 tablespoon they need and then donate it.

Where is it from?
Cost:
  • Slate $30
  • Sealer $2