Showing posts with label Refinishing. Show all posts

Monday, March 23, 2009

More Door Stripping and a Query

After even more work with a utility knife and a bit of sandpaper, the door is starting to look better:

Photobucket

We might actually be able to keep it natural wood... but there is one problem. The citrus stripper I used to remove the paint from the decorative moulding has left a stain on the wood. I'm not sure if it's citrus stripper, or if the citrus stripper disolved the dye from the red paint that was the bottom layer, but there are red/orange stains on our wood. The stains are somewhat deep; a good sanding doesn't remove them. I've tried mineral spirits and denatured alcohol.

Photobucket

Any suggestions?

Tuesday, March 3, 2009

Stripping with Scrubbies

It's been gorgeous out. I've still been working on stripping our front door. It's taking forever, and I'm only doing one side well enough to stain!

I read a little tip about using nylon scrubbies and denatured alcohol to remove the last of the paint after you have tried the heat gun, chemical stripper (the citrus variety), the razor blades, and dental picks.

It didn't seem to work. Anyone have a better solution?

Photobucket

Sunday, October 19, 2008

Stripping Paint in the Afternoon...

We worked a bit more on the new front door today. I'd like to have it done this week, as our current front door is cracked, and in need of serious weatherstripping to make it through this next winter. You can see daylight around the edges on almost all sides. Instead of spending time with the old one, I'd rather install the new (old) one!

We worked on the exterior side today... the side with the weird paint/chalk. We used a citrus based stripper (covered with saran wrap to keep it moist) to strip the top layers of paint off of the mouldings and around the lites.

Photobucket

The ash tree above our "workbench" (old picnic table) decided to add some leaves for visual interest.

After we scraped the paint off with various dental tools, the head of a large nail, and a brass stripping brush, we cleaned it with mineral spirits. No picture, because it looks exactly the same in a picture; the stripper had seemingly no or little effect on the chalky bottom paint. My hunch is that it is a plaster or drywall compound spread on to smooth defects and ensure a "perfect" paint job.

That's what we did to seal up our house this weekend. It's round about and not immediate, but it should help out in the long run.

Thursday, August 28, 2008

The New Front Door- Side One

Over the last few days, I have taken this door from this:

Photobucket

to THIS:

Photobucket

Any guesses on wood type? I was assuming pine when I bought it; that doesn't look like pine to me, though.

Still have to remove the paint from here (around each inset panel)...

Photobucket

and here (around each of six windows)...

Photobucket

We are debating painting or staining. This is the interior side of the door; the rest of our doors will all be natural wood. We would love to keep this door natural on the inside, too... but there are a few imperfections. Here is the largest gauge:

Photobucket

It is about 1/4 inch deep, and about 2 inches wide and 4 inches tall. The rest are mostly holes, or small scratches. Thoughts on my ability to hide or patch imperfections like this?

Tuesday, November 20, 2007

Refinishing Mahogany Doors

A while ago, we went to Raven Architectural Artifacts in LaSalle. The owners showed us some mahogany veneered solid doors they had accidentally left outside... the finish was peeling, and there was some weather damage to the veneer. They offered them to us for $25 each, so we bought all three. The color is beautiful, and they had original hardware and crystal doorknobs. The finish is very thin, too, and came off quite easy!

These doors were all from the university's 1930's faculty apartments... the apartments were turned into dorms around 2001, and so were gutted of anything nice.

****************************************************************

This door is back in business, as it is going to be the bathroom door in just a few days. It was a closet door in a former life, and so has a full length mirror (in excellent condition) inbedded into it on one side.

We originally stripped this door with a "gentle finish remover". A couple hours, 2 eye masks, 4 pieces of 00 steel wool, and 2 pairs of rubber gloves later, the finish was stripped. We plan to use a random orbit sander to complete the next two.
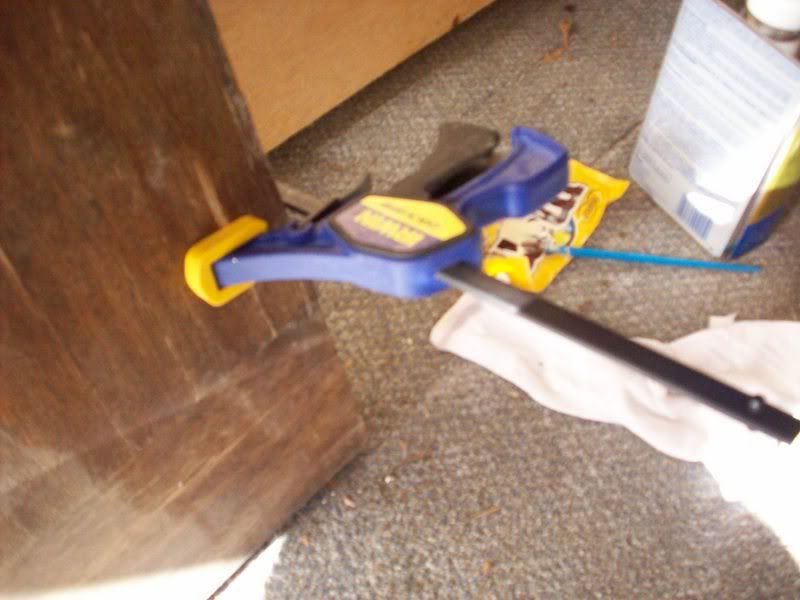
Yesterday, I spent the day gluing some peeling veneer back into place. I used rubber tipped clamps to hold the wood in place while gluing.
Photo Sharing and Video Hosting at Photobucket

I also used #18 5/8 inch brads to reattach the molding that was holding the mirror into the other side. I need to go buy a small finishing hammer to complete the job, as whacking at the tiny nails beside a mirror was a bit like being an elephant in a china shop.
Today, I may refinish. I may not. The door is incredibly heavy, and I can't lift it myself. But, I may try!