This weekend we installed the slate in our bathroom. It took us 2 days from start to our current stopping point. I was pleasantly surprised to notice that my previous mistake was not noticable on the installed floors.
How to install slate on top of HardiBacker:
1) Dry lay the tiles to make sure they fit. The rubber spacers they sell were somewhat useless with the inconsistent shape of the tiles, so we didn't use them.
How to install slate on top of HardiBacker:
1) Dry lay the tiles to make sure they fit. The rubber spacers they sell were somewhat useless with the inconsistent shape of the tiles, so we didn't use them.
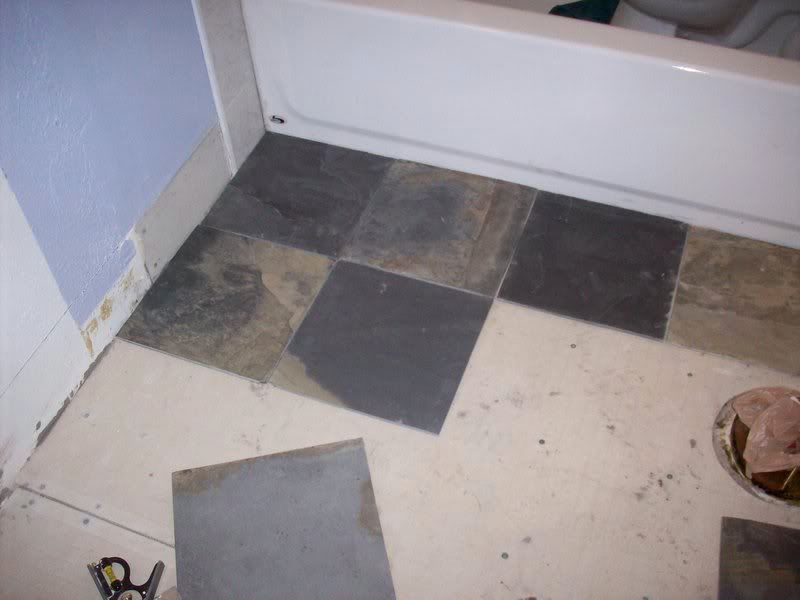
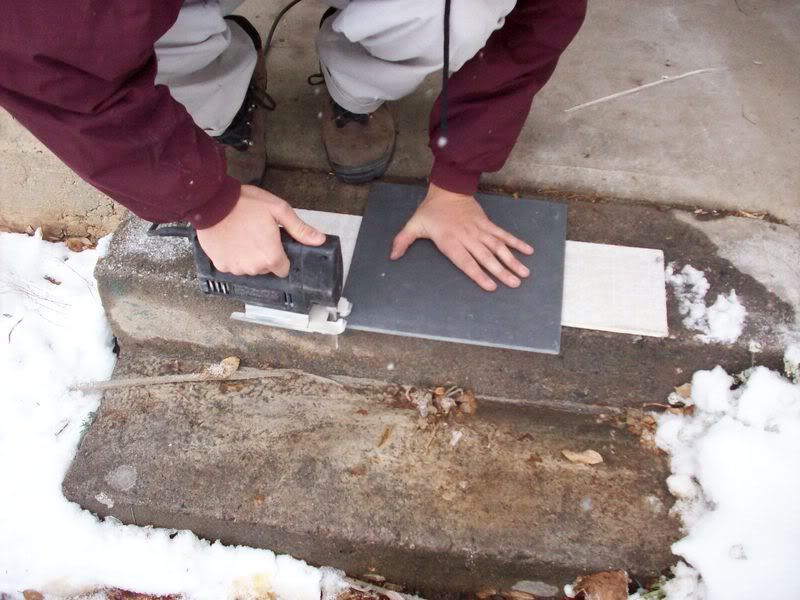
2) Use a diamond blade to cut the stone. We dry-cut using a diamond blade on a jigsaw for the detail cuts (such as the circle around the toilet) and a diamond blade on a circular saw for cutting the long straight cuts.
Hints: The jigsaw cuts a nice, smooth, even and nice-looking line, with little to no breakage and crisp edges. The circular saw, on the other hand splintered the edges of the tiles, and chipped off a considerable amount of stone. We used it only for edges that would be hidden.
Hints: The jigsaw cuts a nice, smooth, even and nice-looking line, with little to no breakage and crisp edges. The circular saw, on the other hand splintered the edges of the tiles, and chipped off a considerable amount of stone. We used it only for edges that would be hidden.
3) We used a rapid setting mortar so that our toilet (only one in the house) would be usable before sundown. I spread it on the floor with an old rubber spatula and used a 1/2 inch trowel to create those "grooves" in the mortar. After 4 hours, we were able to replace the toilet/
Hints: A drill with a mixing paddle makes quick work of the required 5 minutes of mixing.
Hints: A drill with a mixing paddle makes quick work of the required 5 minutes of mixing.
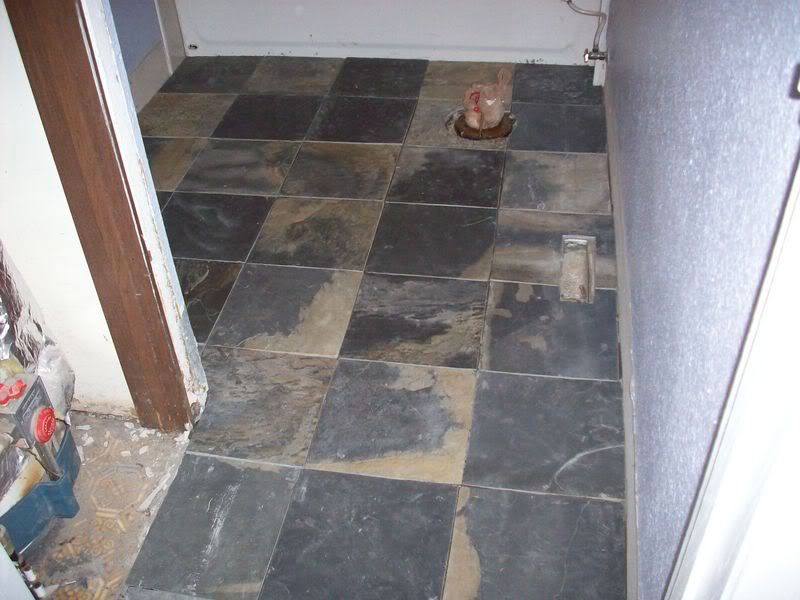
5) We installed the grout using sandwich baggies to "pipe" the grout into the cracks. We did this because we are inexperienced at grouting.
Hints: Use lots of warm soapy water to clean up... and wipe every tile at least three times to remove the excess grout.
Hints: Use lots of warm soapy water to clean up... and wipe every tile at least three times to remove the excess grout.
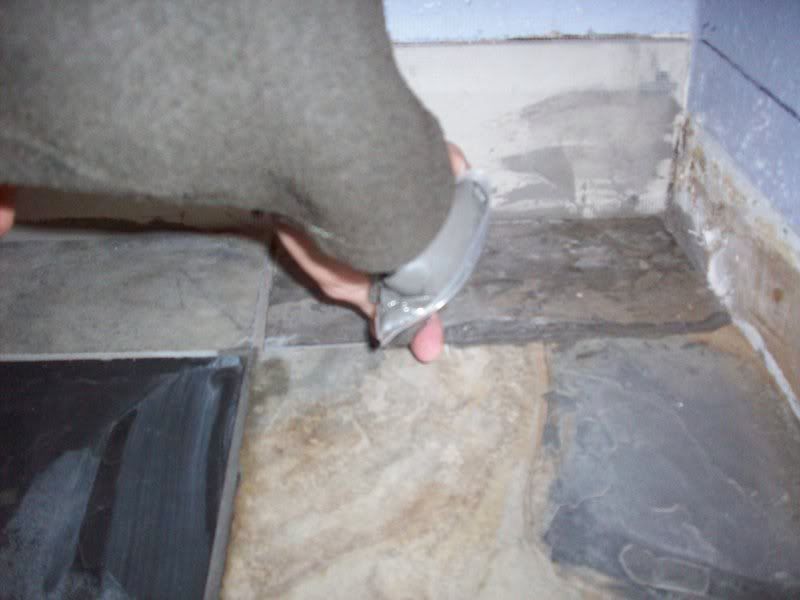
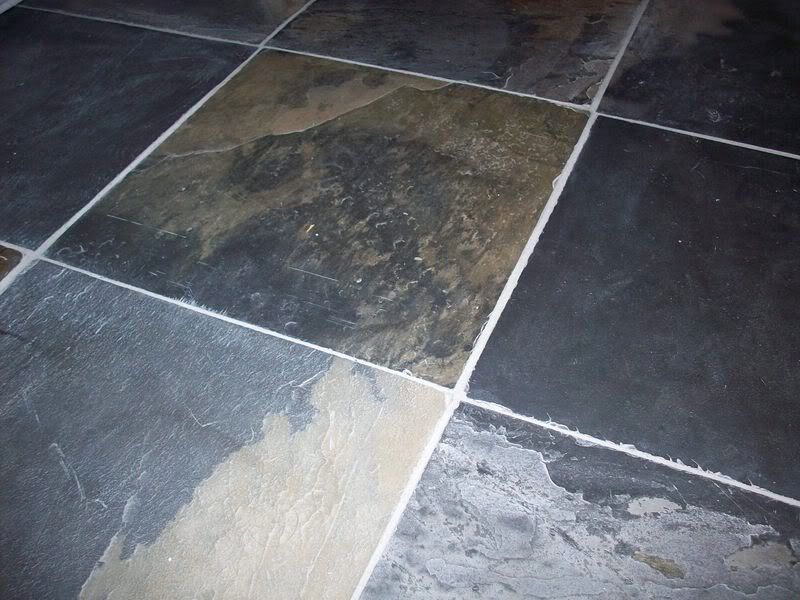
The finished and dry grout lines. The grout looks darker in real life; it is about the color of cement.
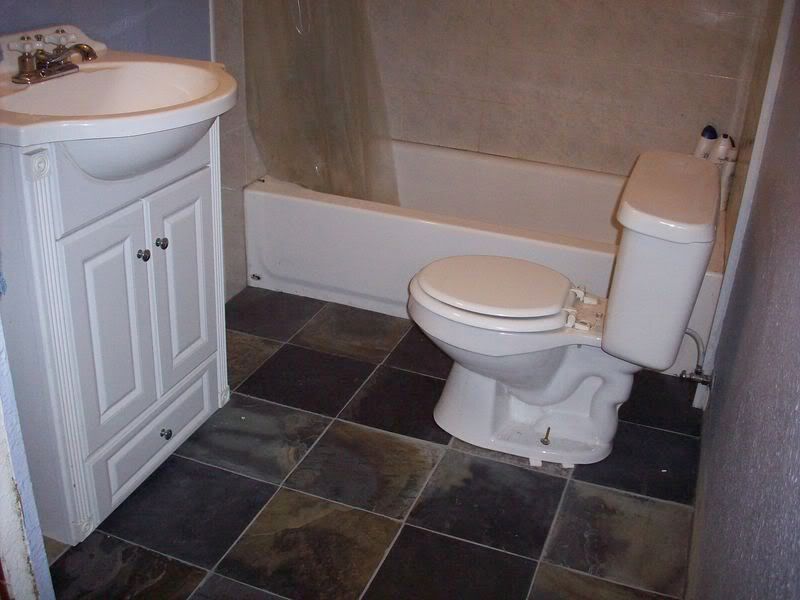
The finished floor!
What and Where and How Much?
- Laticrete Tri-Poli Sanded Grout- Habitat for Humanity ReStore- $2
- Ultra Flex Thinset Mortar- All About Floors- $18
- 1/2 inch trowel- Habitat for Humanity ReStore- $1.25
- Diamond Blade for jigsaw- Lowes- $5
- Sponges- Grocery Store- $2
- Slate Tile- Craigslist- $30
- Sealer- Habitat for Humanity ReStore- $2
- Hardibacker- Freecycle and Lowes- $30
- 1/4 inch trowel- Habitat for Humanity- $2
- Wax Rings for Toliet- Home Depot- $5

9 comments:
That floor looks great! What a great little blog - happy you left a comment or I would have never found it! I've added you to my blogroll. All the best!
looks awesome, I'm jealous
Very nice!
Lovely! Slate is so wonderful. I put it everywhere I could in my house, just can't get enough of it! :)
The slate looks really great! I would like to put it in our sun room/piano room/watchamacallit.
I love slate- our last home had it in kitchen nd bath- Did you seal it? I had problems with the seal in the bathroo as my son was a massive water splasher- spend the money on the good sealant! Lovley! So glad we have found each others blogs- inspire each other !!!!
Love the floor! Great job- and did I see snow?
Thanks all! I do love the slate... we are going to floor the laundry room (when it is created) in it, too, to tie in the rooms.
Amy- we presealed it before laying it (to prevent grout mistakes). I plant on sealing it in 2 weeks again to seal the grout... I hope what I have is good quality! ($25 a bottle, it better be!)
Cotterpin House- SNOW SNOW SNOW!!! The night before our designated flooring day, it SNOWED! Made for some COLD cutting! I just love snow. :)
Im jealous of that tilework. Thats very nice. Beautiful colors.
Post a Comment