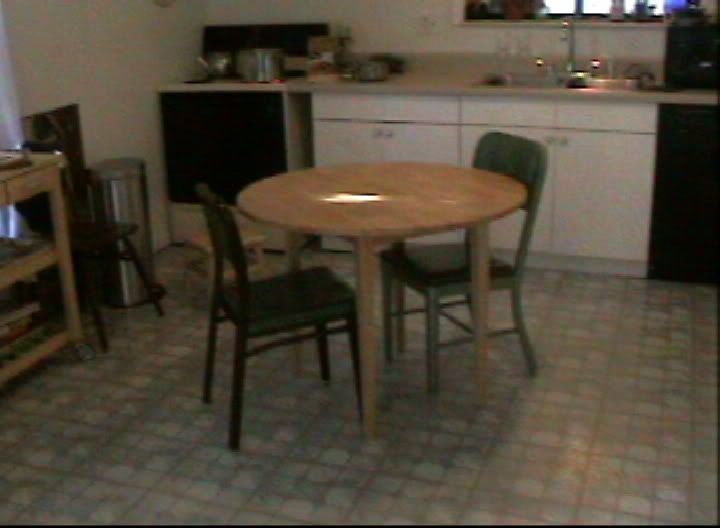
After 70% of the work:
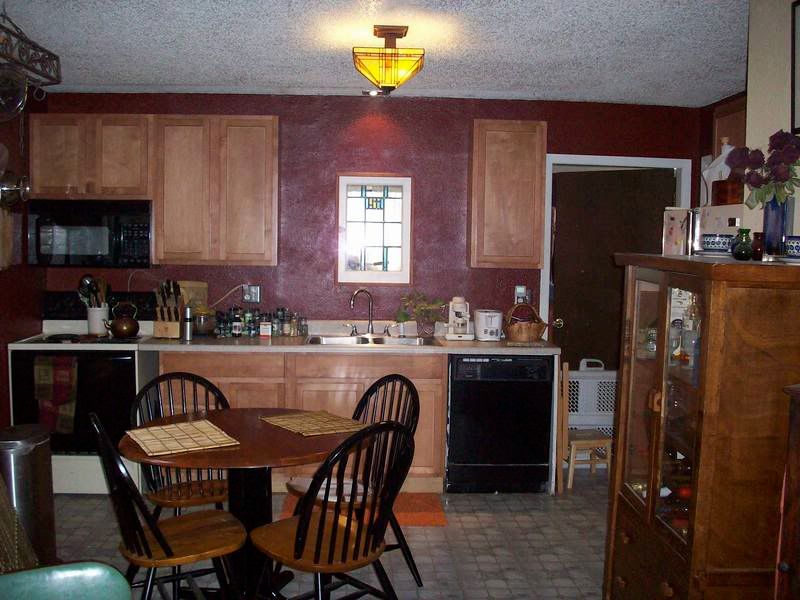
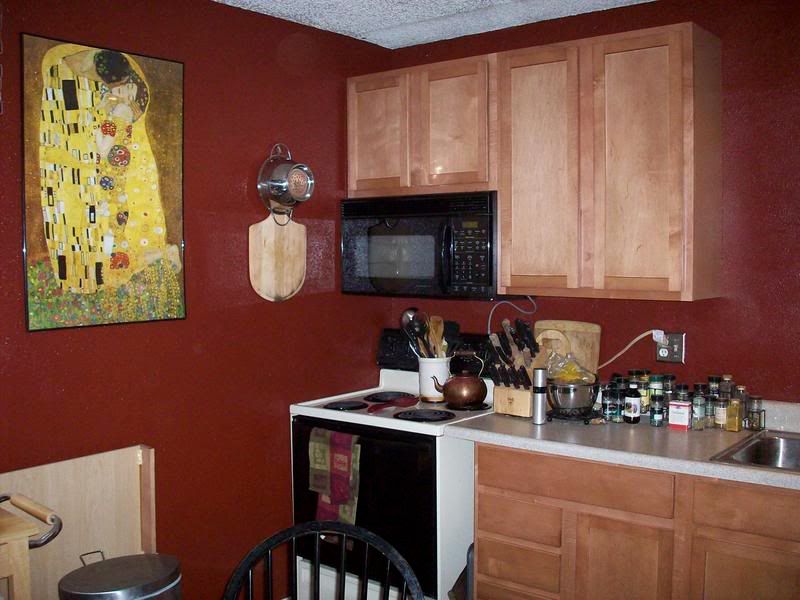

First, we painted the whole kitchen a nice brick red. It's actually a brown color, but it looks so red! (Hint: Paint AFTER you rip down the old cabinets, not before)
Then, we ripped down all of the existing cabinets. And then we stared at the mess we created!
(hint: ALWAYS use screws to put up cabinets. It makes life so much easier on those who will take them out in 20 years!)
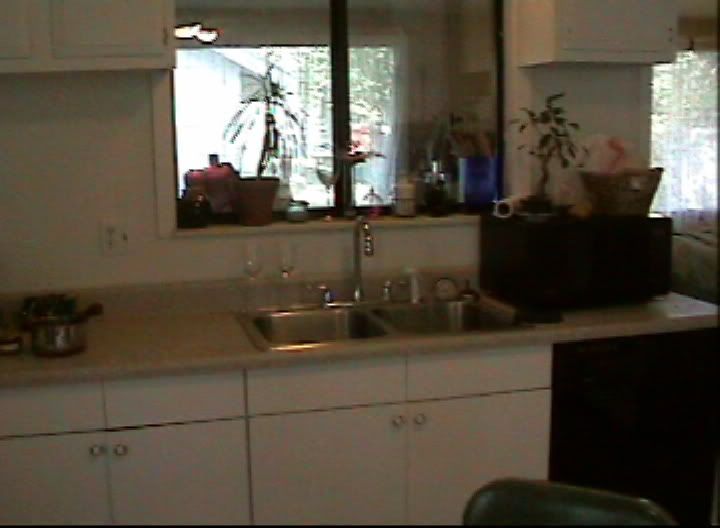
We decided that it would be better to remove the huge window above the sink altogether. This window is on a wall that use to be an exterior wall... and taking that window out took 2 days of carefully hacking away at that exterior wall, and then carefully prying out the NAILS that held it in (ALWAYS USE SCREWS!). Actually framing in the new stained glass window, drywalling, and painting took just a couple hours.
Putting the new cabinets up was much easier than carefully ripping down the old ones.
- MEASURE THREE TIMES before drilling the holes. We have quite a few random holes in the back of our cabinets to fill because the studs "moved" on us.
- Use good clamps to hold the cabinets together.
- Take the doors off first... it really is easier to install a cabinet without doors.
- Cabinets- Came from a wholesaler in Denver. We searched for about a year for salvaged cabinets that fit our measurements and our requirements, and unfortunately were unable to find any. They are Merillat Cabinets... the cheapest they make, in maple.
- Microwave-Freecycle
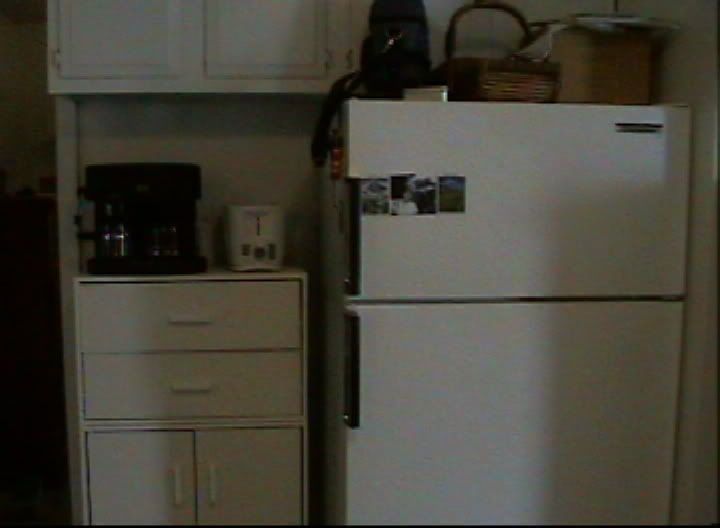
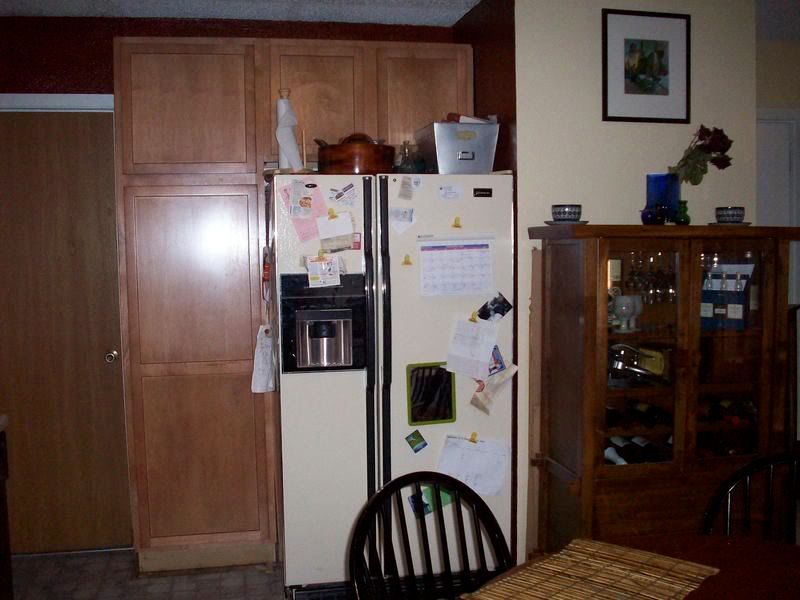
- Refrigerator- My in-laws. They remodeled their house this past summer, and bought new stainless steel appliances. We got their old almond fridge WITH ICEMAKER! It matches the existing almond and black stove.
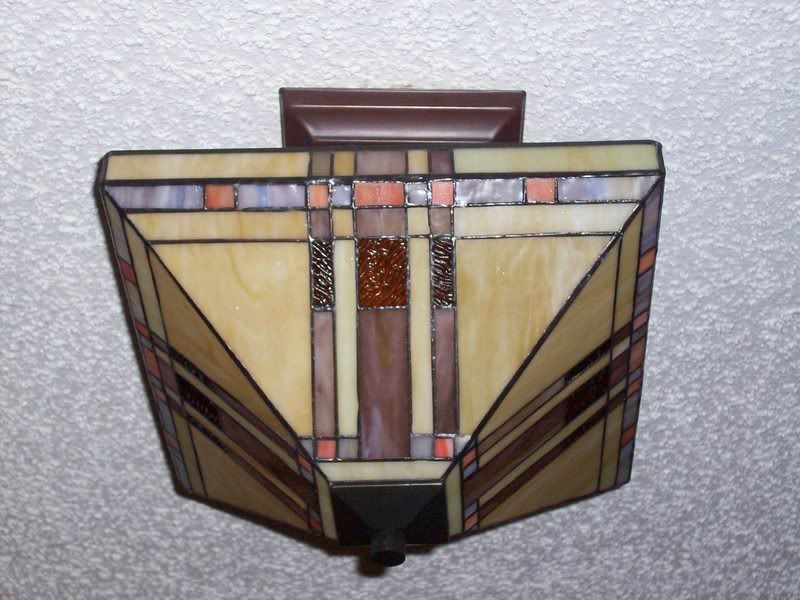
- My gorgeous kitchen light that I drooled over for months- Lowe's... on clearance the week we were redoing the kitchen!
- Pot Rack- Pier One (a gift card purchase)
- Table- My in-laws again!
- Jigsaw- Pawn shop
- Stained Glass Window- Ebay
- Nails, screws, drywall, drywall tape, shims, spackle, paint- Lowes
- Cabinets $1450
- Ceiling Light $45
- Above Sink Light $15
- Jigsaw $10
- Drywall, Screws, Nails, Studs, Shims, Trim, etc-$40
- Stained Glass Window $50
- Microwave, Fridge, Table, Chairs- FREE
- Paint $20
But it's only 70% done... what is left?
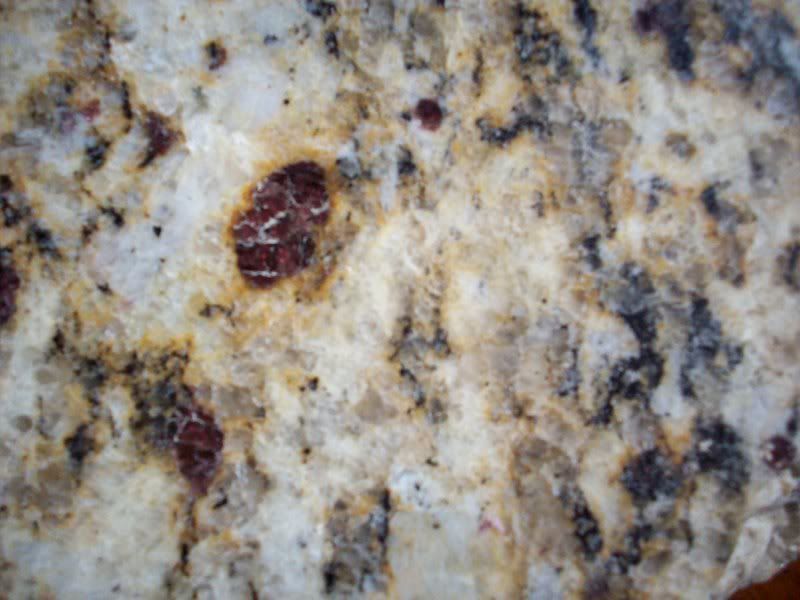
We have granite countertops to make, using a salvaged countertop. This will require us to get up off the couch, drive down to Denver, and use the shop. Here's a picture of the granite... notice the dark red crystals in it (same color as the walls).
2 comments:
Beautiful! I love how you break everything down. We did a pretty extensive remodel this summer. We have so much left to do... but, we have all our stuff moved back into the house.
Good to be back in your house! Kitchens are a big job, too. We tried to do it in pieces so that we would always have SOMETHING to cook with!
Post a Comment