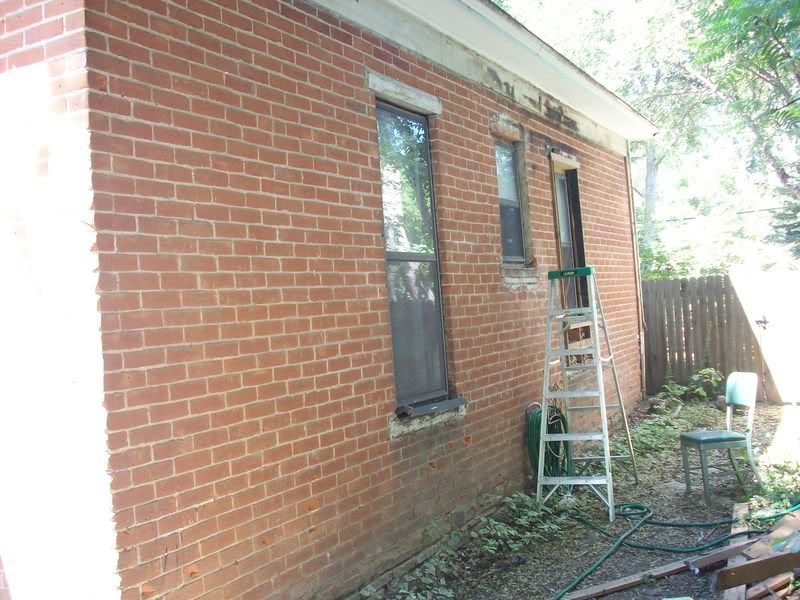
At some point in the house's history, the full sized window was removed, and replaced with a nice, but way too small window. You can see the framing below and to the sides of the window if you look hard... it's the window on the right. The original frame was left in place; only the sashes are missing.
As we deconstructed, we discovered WHY it was replaced... take a look at these pictures:
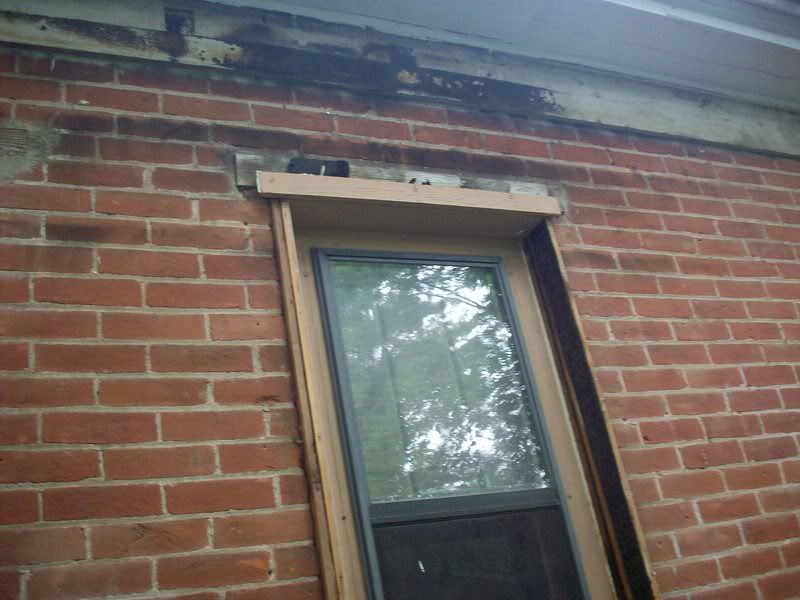
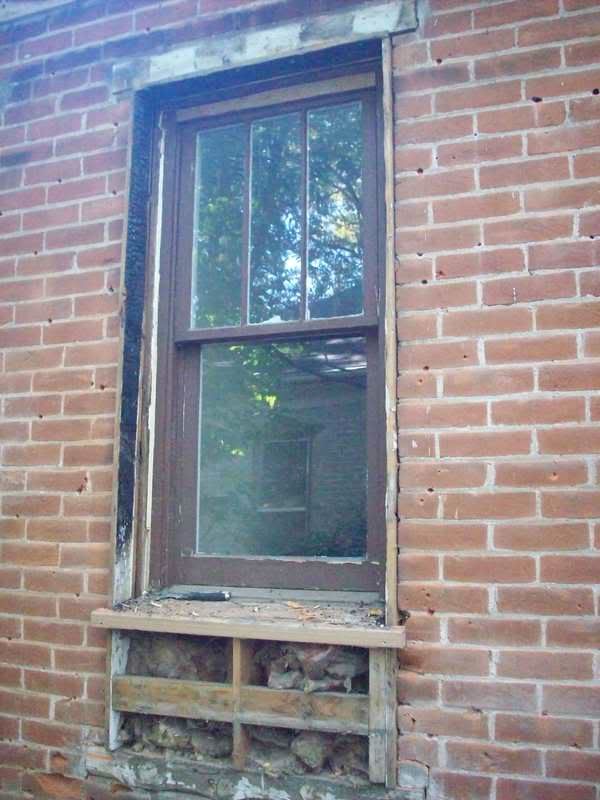
Notice the significant charring on the original window frame, and the soot staining on the brick and upper wood? There was a house fire in this room at some point! We knew when we bought that there had been a house fire... the rafters are slightly charred and have been sistered to new rafters. We didn't know WHERE the fire had been, though. My guess is that it was in this bedroom, and the window burned in the fire.
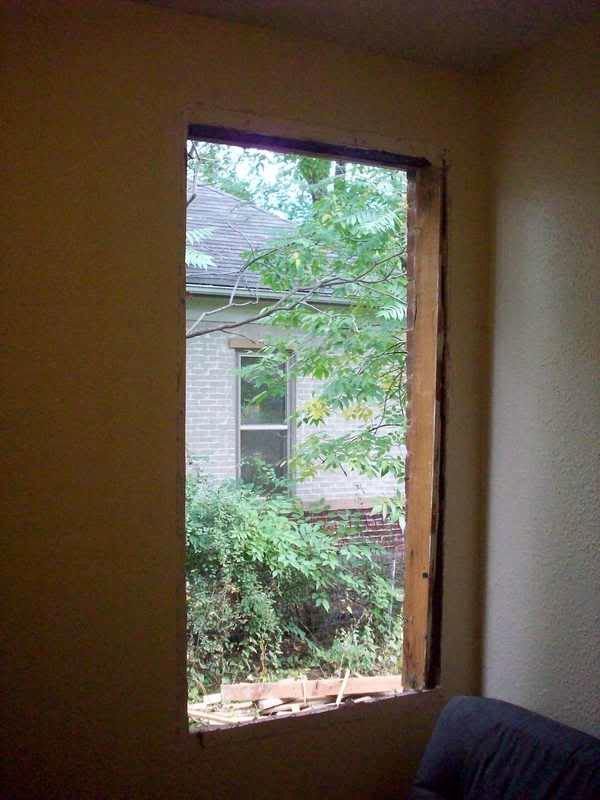
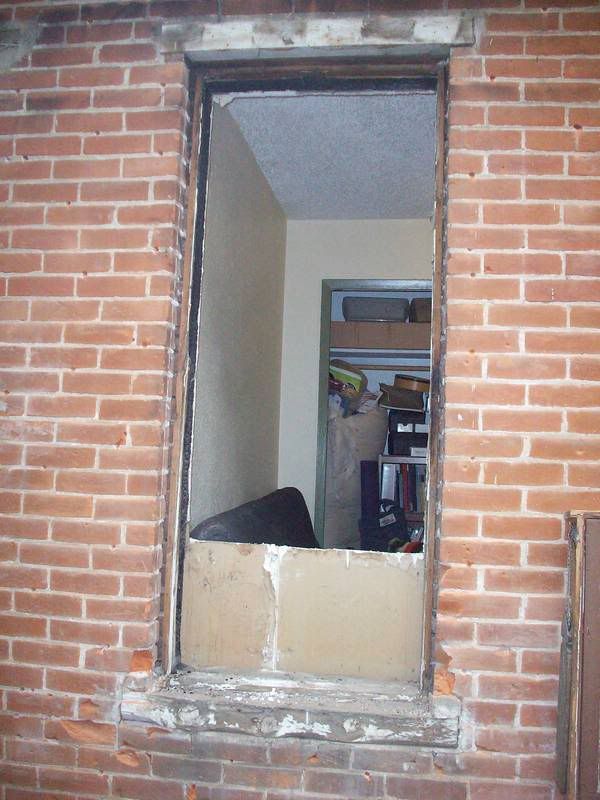
Here's the hole in my study:
And, the very nice window we removed:
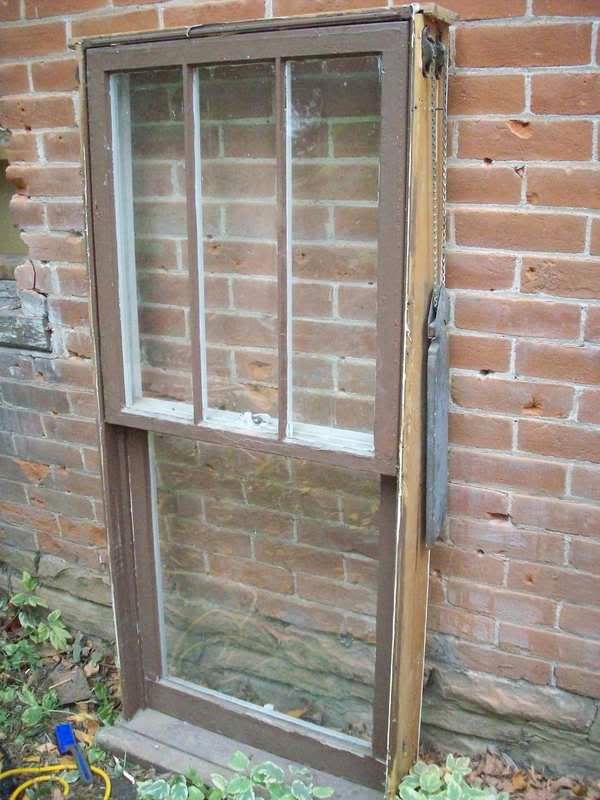
We are saving it for use on the back addition. The sash weights work perfectly, and it only needs a little reglazing!
We bought a $10 reciprocating saw at the local pawn shop; this was worth its weight in gold for removing the old window intact. I can't believe we have done so much without it; the kitchen cabinets would have been much easier with it!
Here is the newer window we used:
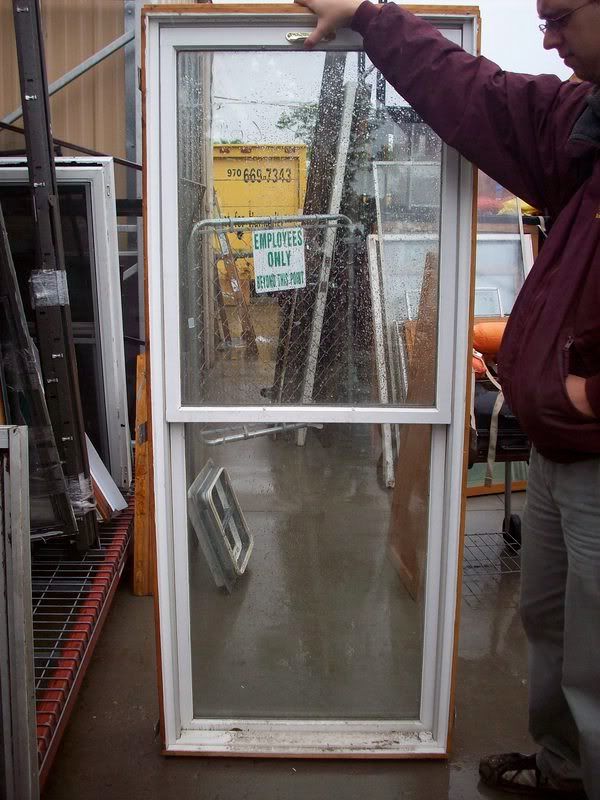
It's a wood, aluminum clad Pella window. It happens to be double paned/glazed. We are using it because it was $60 at the Habitat ReStore, and was the only window we could find used in our dimensions. As a bonus, it happens to have the same trim profiles on the interior.
(An aside... I may do a "test" to compare this double paned window with an original window to compare heat loss, as I have an original on the same wall. Should be interesting!)
Though this is a new construction window, we installed it into our existing hole. We removed the sides and top of the existing (charred) frame, and secured the new window through a combination of masonry screws and nails into the wood header and footer.
We applied foam backer around the window:
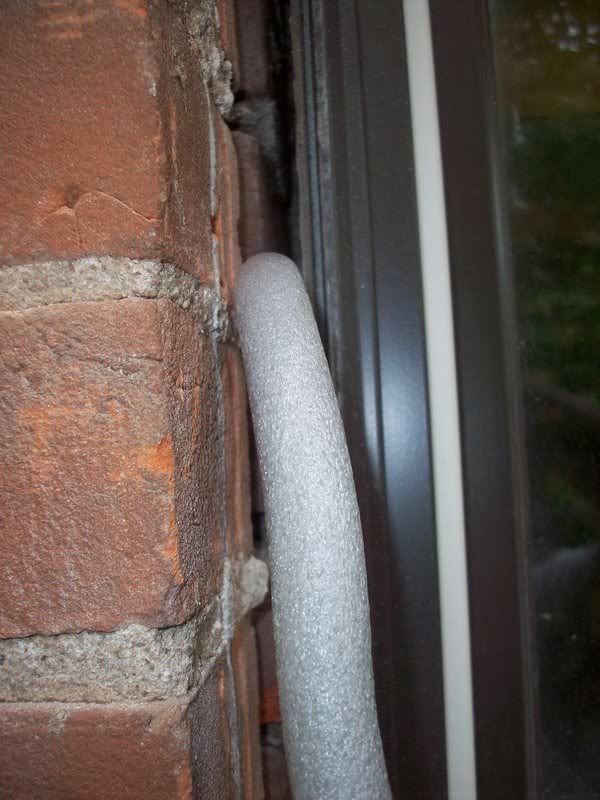
We also caulked around the entire inside of the window. We will finish the outside once our brick work is done around that window.
Afters:
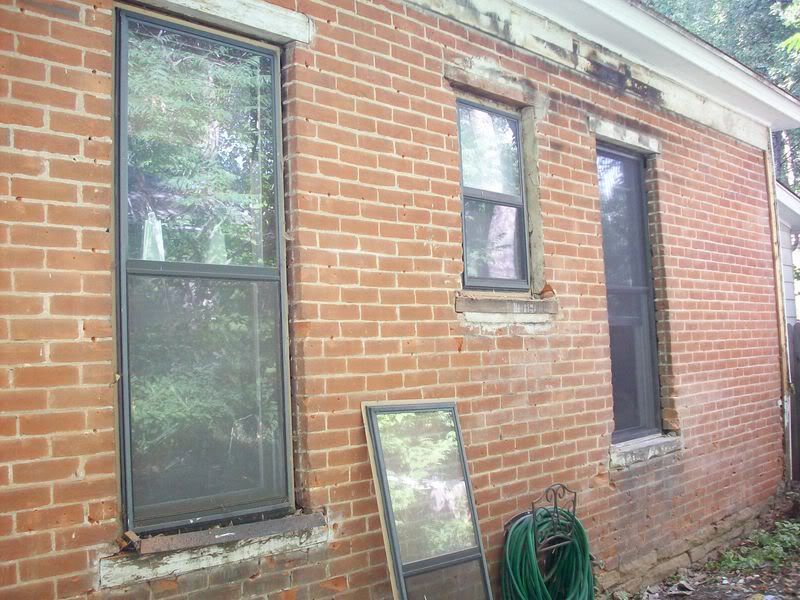
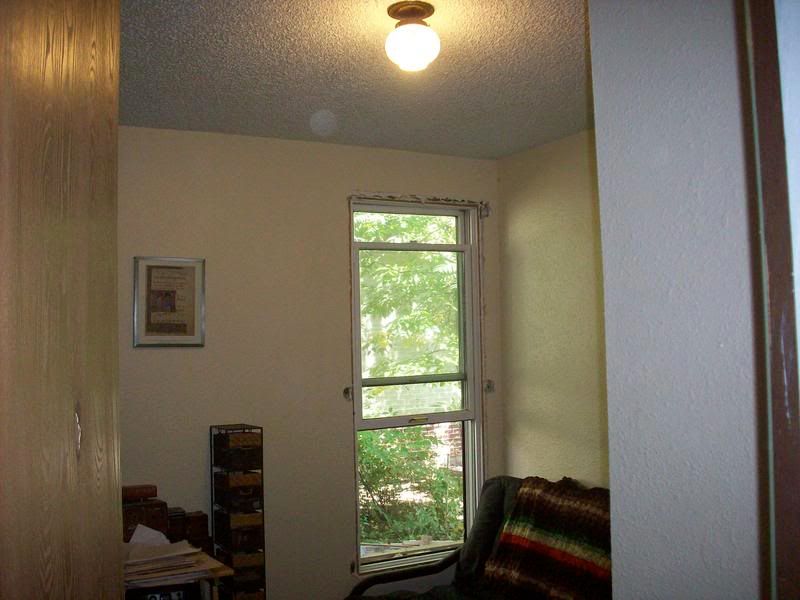
The room is already much nicer with such a large window in it! Now to pick out trim for the whole house.

5 comments:
Looking great!
Wow...that looks so much better! You are doing a great job finding used materials.
wow...what a project. It's kinda neat that you uncovered such a mystery though. Looks great! I'm always impressed with all the work you guys do! You sound like us with the heat!! It sweatshirts and socks for us here too:) Thanks for visiting and I hope to see you again soon;)
A window like that in your study could lead to some serious daydreaming.
It looks great. Lucky find, that used window. Wish I had more resources for stuff like that around here.
Post a Comment