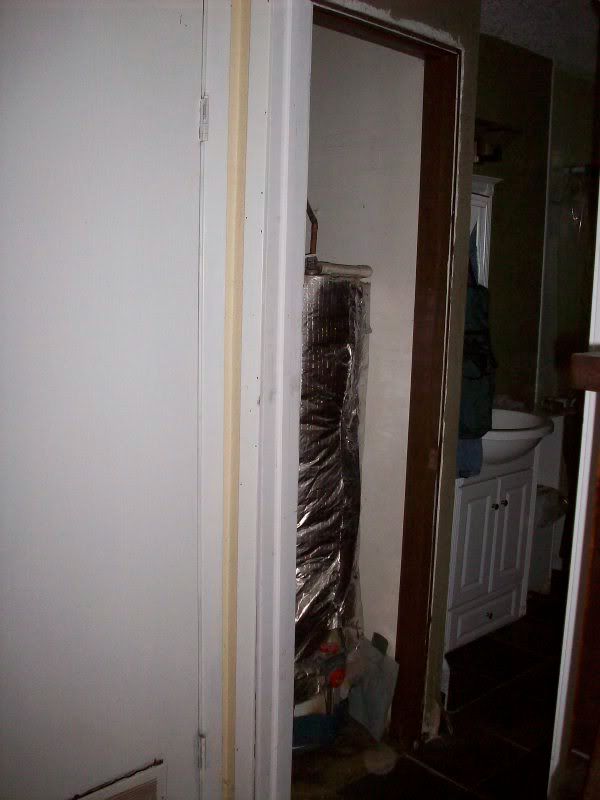
This doorway is 22" wide, an unusual size. Complicating matters was my want for a paneled door, and my preponsity for used doors. It is hard to cut 2 inches off of a used 24" door that has panels and door handles cut!
After years of searching, I finally found a 22" door at our local salvage store. It is newish, pine construction, and three panels. The smallest panel is just perfect for installing a vent; we are "flipping" the door over so that this panel will be on the bottom.
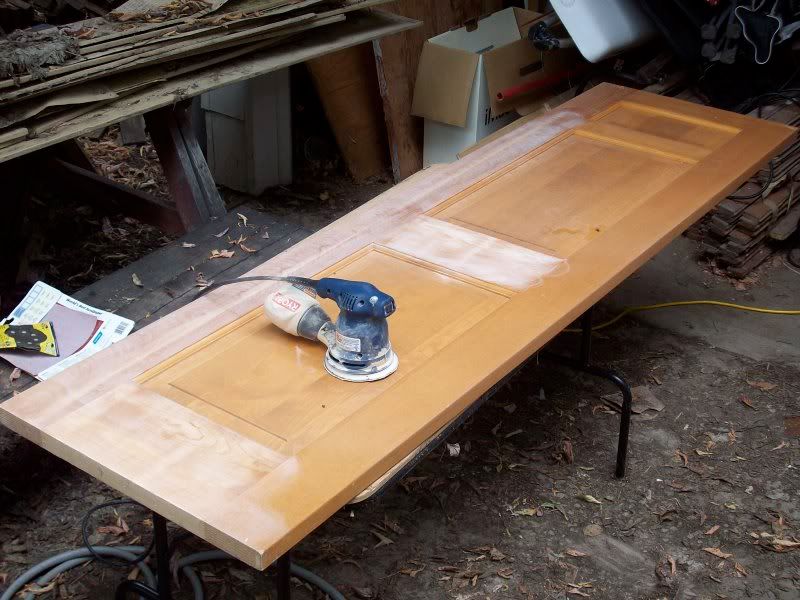
Here is the sanding:

I sanded first with 100 grit sandpaper on my orbital sander. The polyurethane finish gummed up the sandpaper quite fast; I was able to "pick" it off and keep going at intervals. After removing all finish, I finished up with 150 and 180 grit sandpaper. I wanted a dark stain, so stopped at 180.
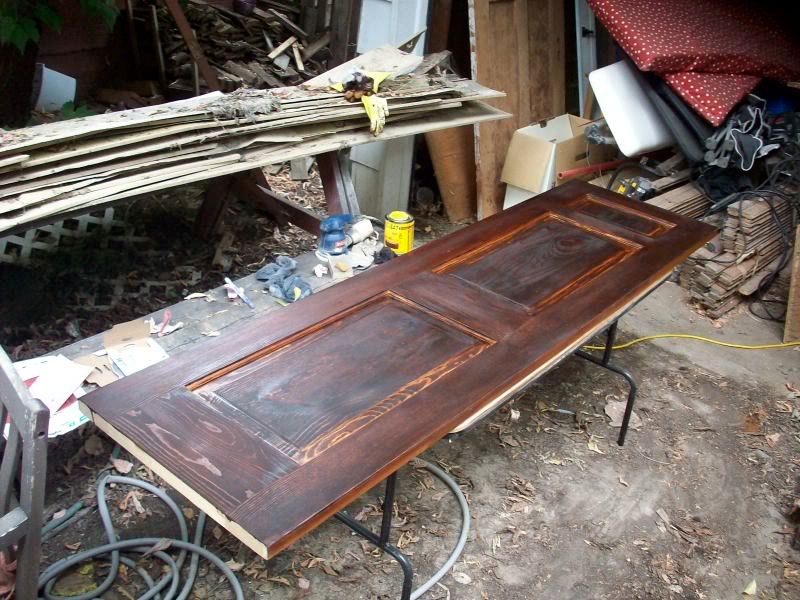
I used the same stain on the door as I had used on the bathroom baseboard; Miniwax Red Mahogany:

This picture is of the first coat drying. I've since added one more coat, and will hopefully add the finish today after finding a vent to add.

3 comments:
can't wait to see the vent
Ooh, what a good idea! About the vent, I mean. And so wonderful, that the salvage shop had what you needed.
Very creative on the reuse!
Post a Comment